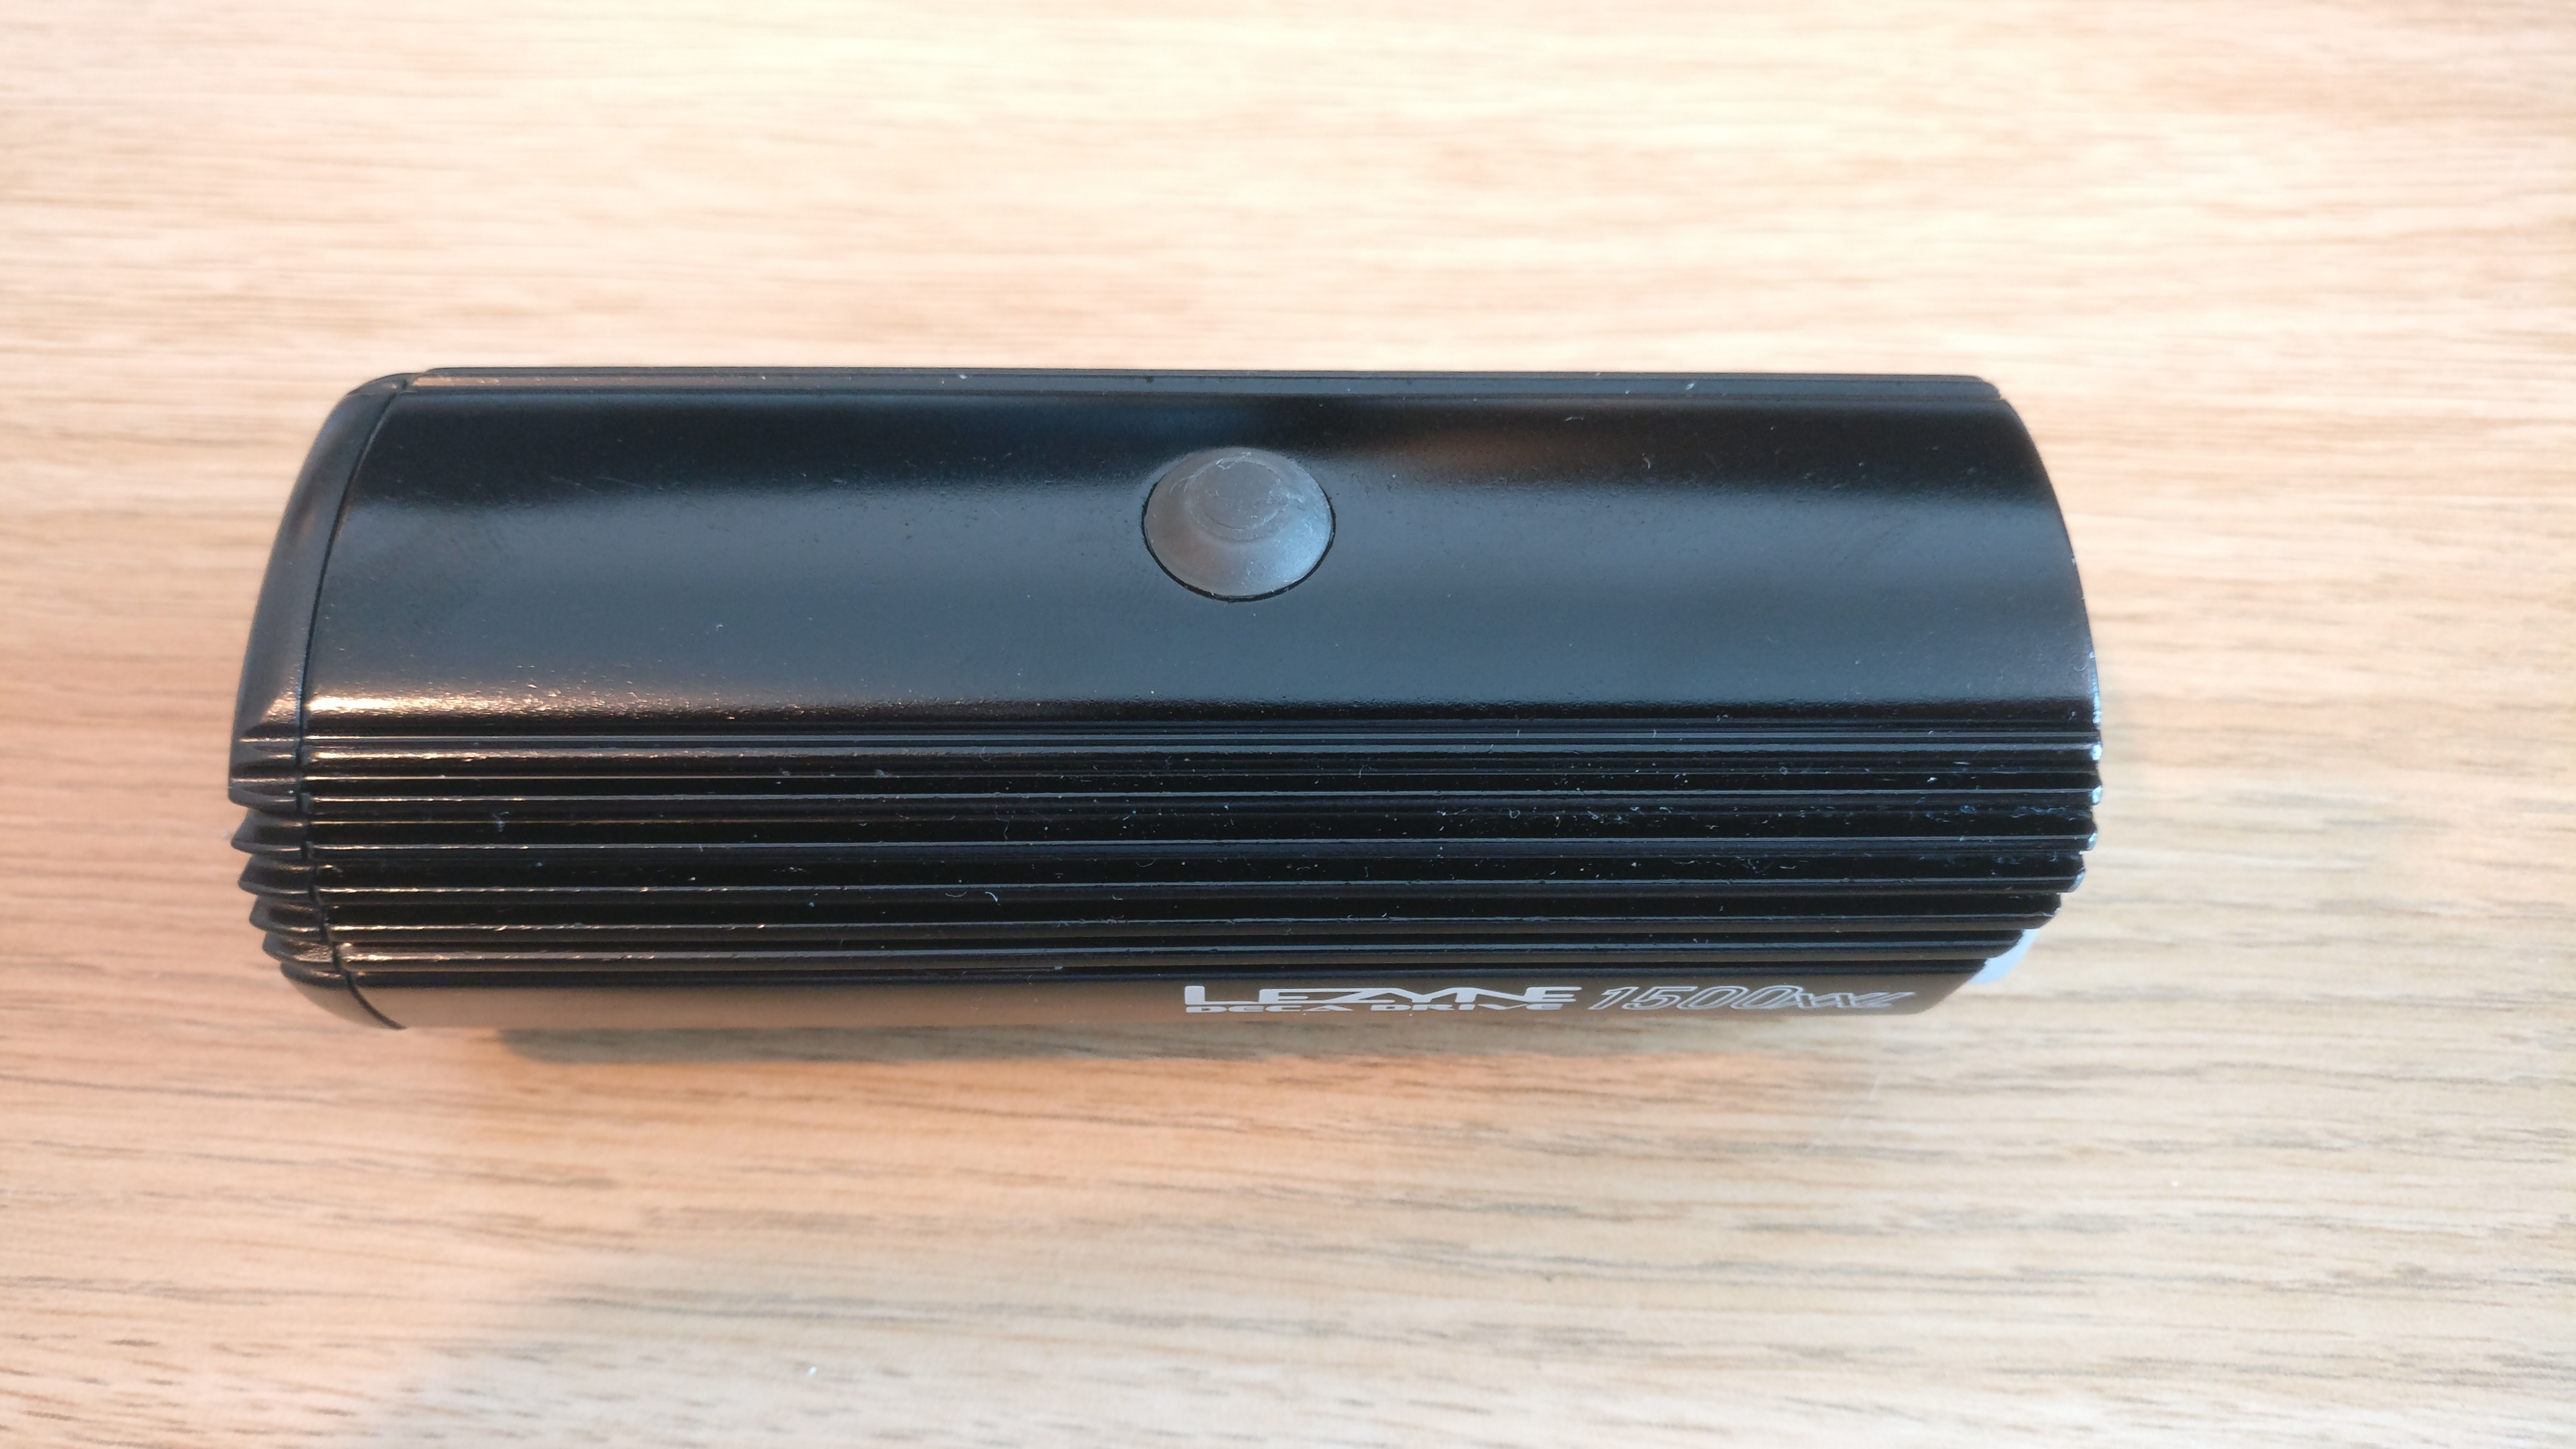
November 2015 I bought a new bike light, I was getting into cycling at the time and wanted to be able to commute home from work in the dark. My choice of light in the end was the Lezyne Deca Drive 1500xxl. For those of you that know its an all in one light capable of delivering 1500 lumen’s for over an hour.
Now, almost 2 years later I am still using this quality bike light. However just like laptop batteries, the factory batteries in this light lost some capacity meaning less run time which has become a problem having let me down a couple of times.
Having some electronics experience. I decided to see if I could replace the batteries myself.
Getting Started
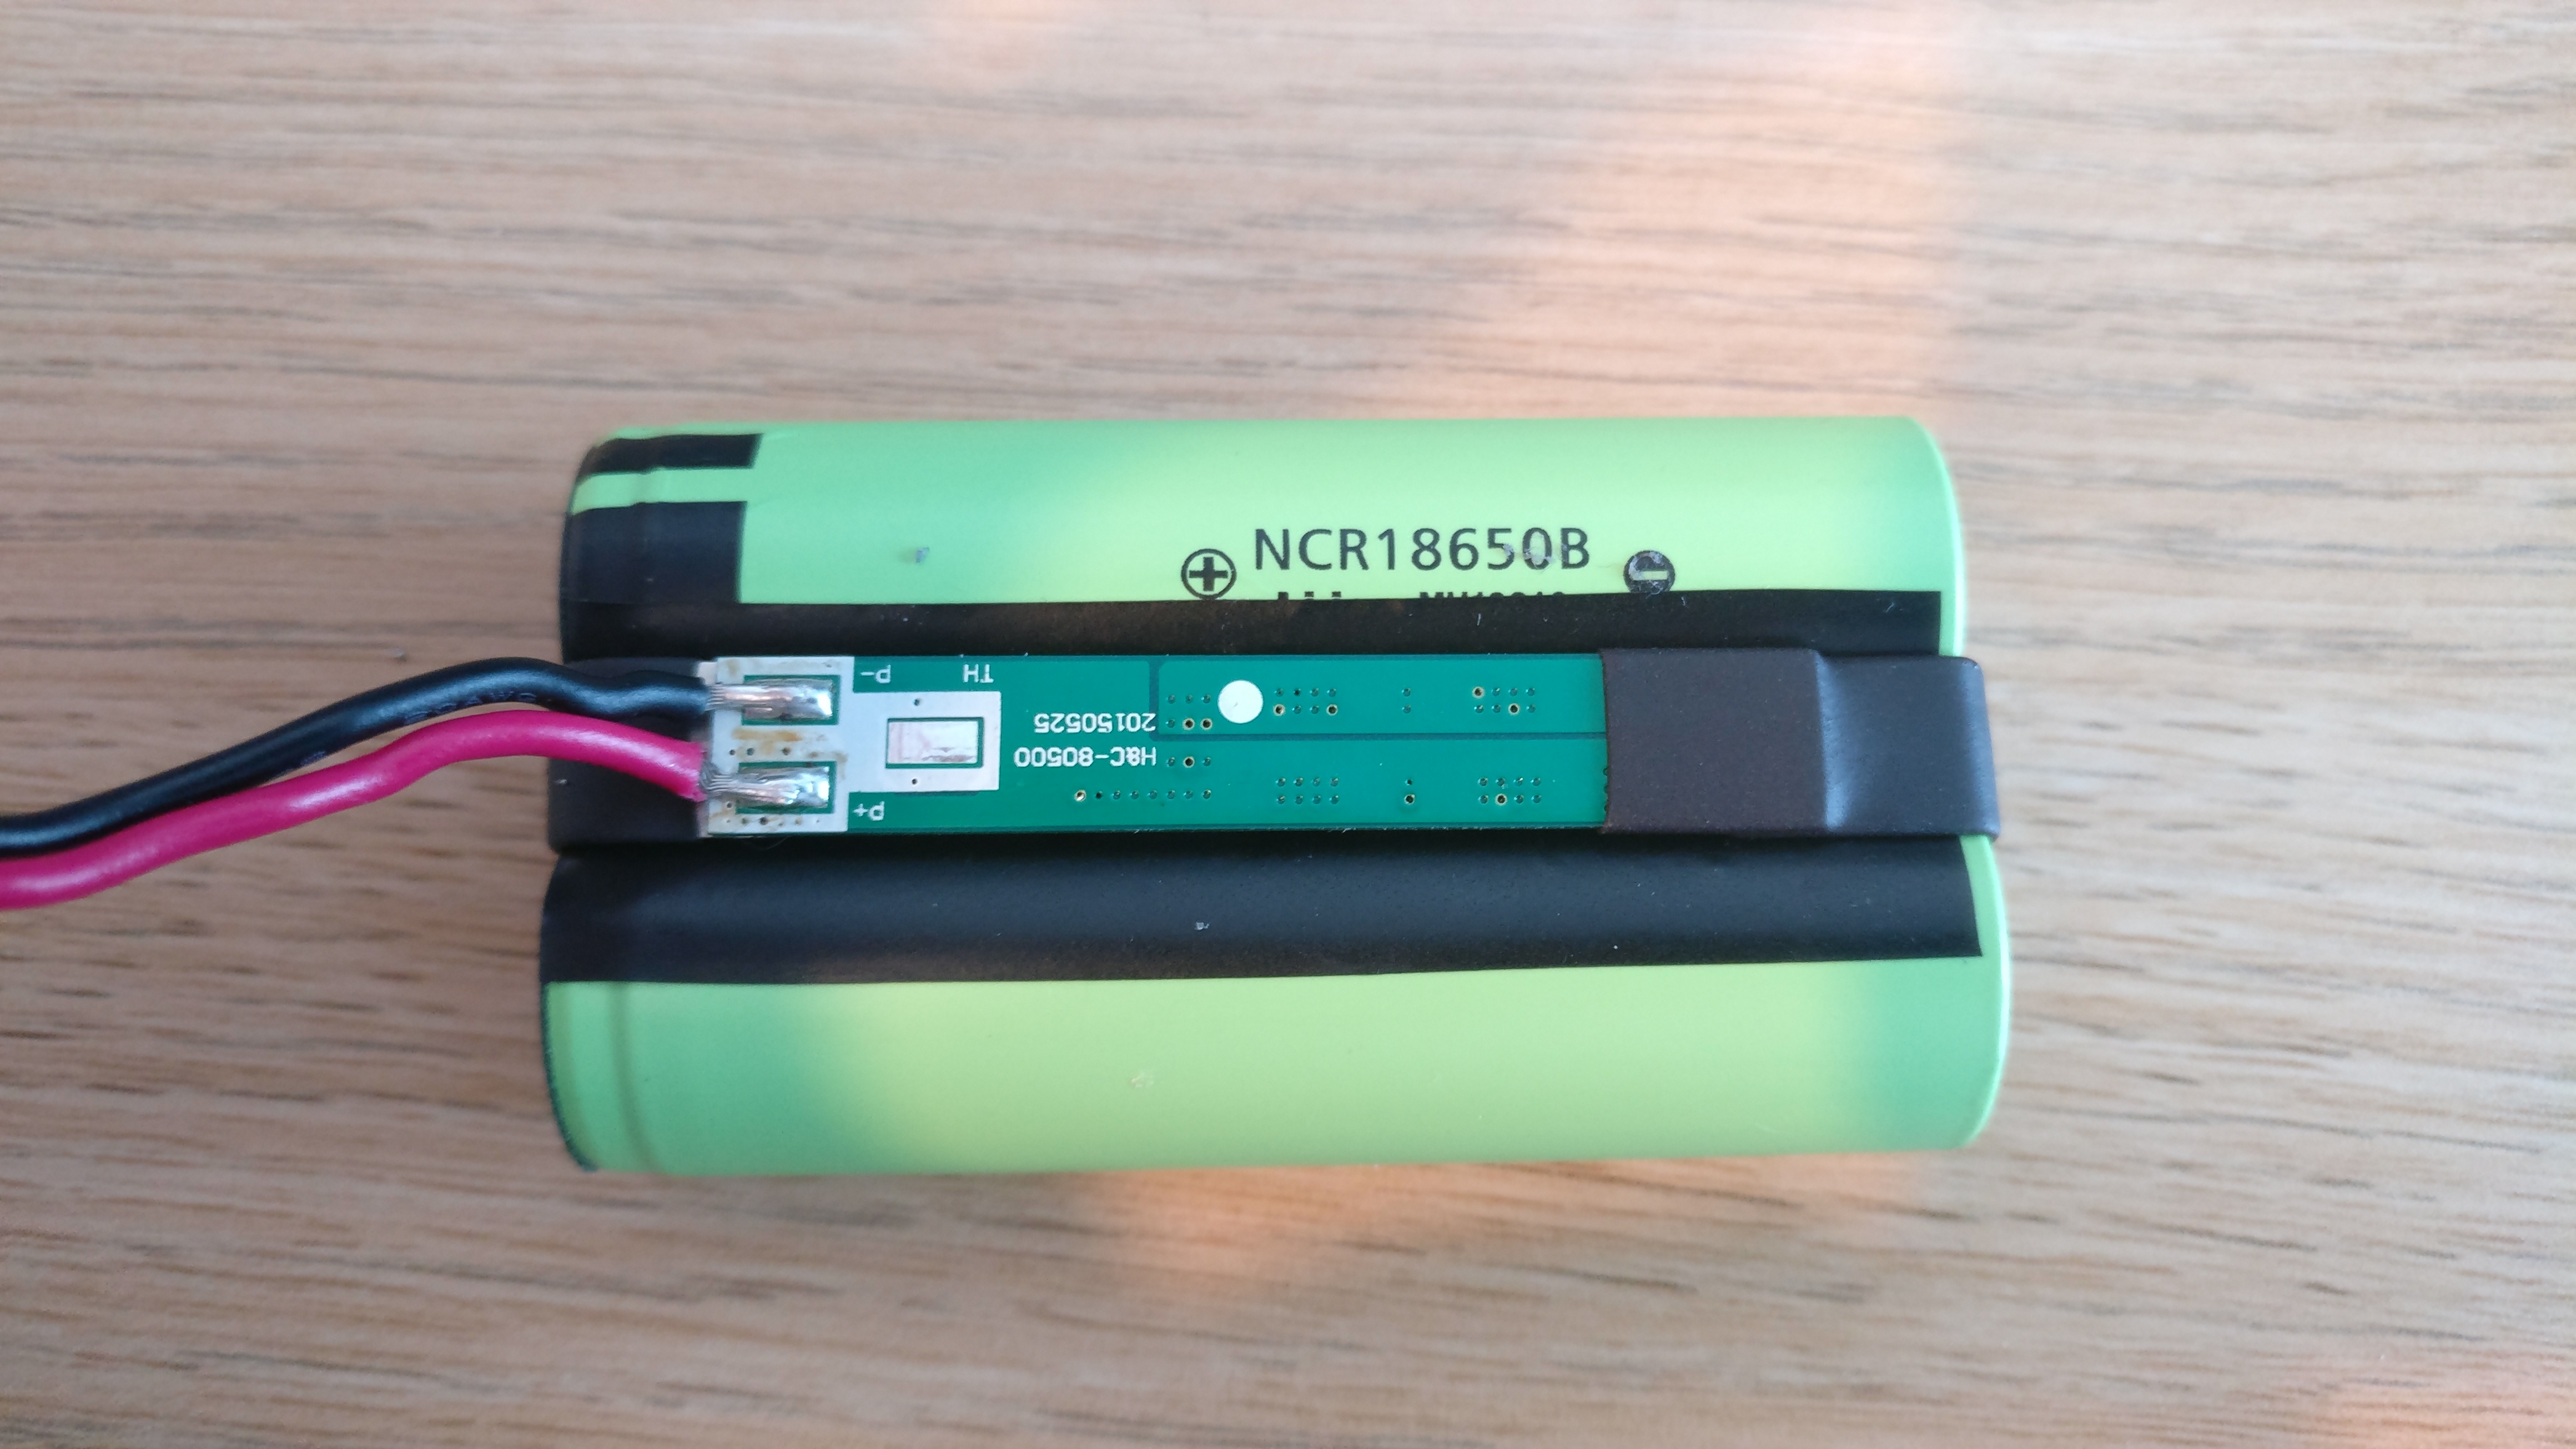
The cells inside the Lezyne Deca Drive 1500xxl are 2 x 2800mah 18650. You can get these from eBay or Aliexpress. The ones I am using are Panasonic NCR18650B with tabs. Tabbed cells make assembling the new pack much easier. Not only are 18650 cells hard to solder due to sinking heat rapidly from the soldering iron. The cell can also become damaged from excess heat.
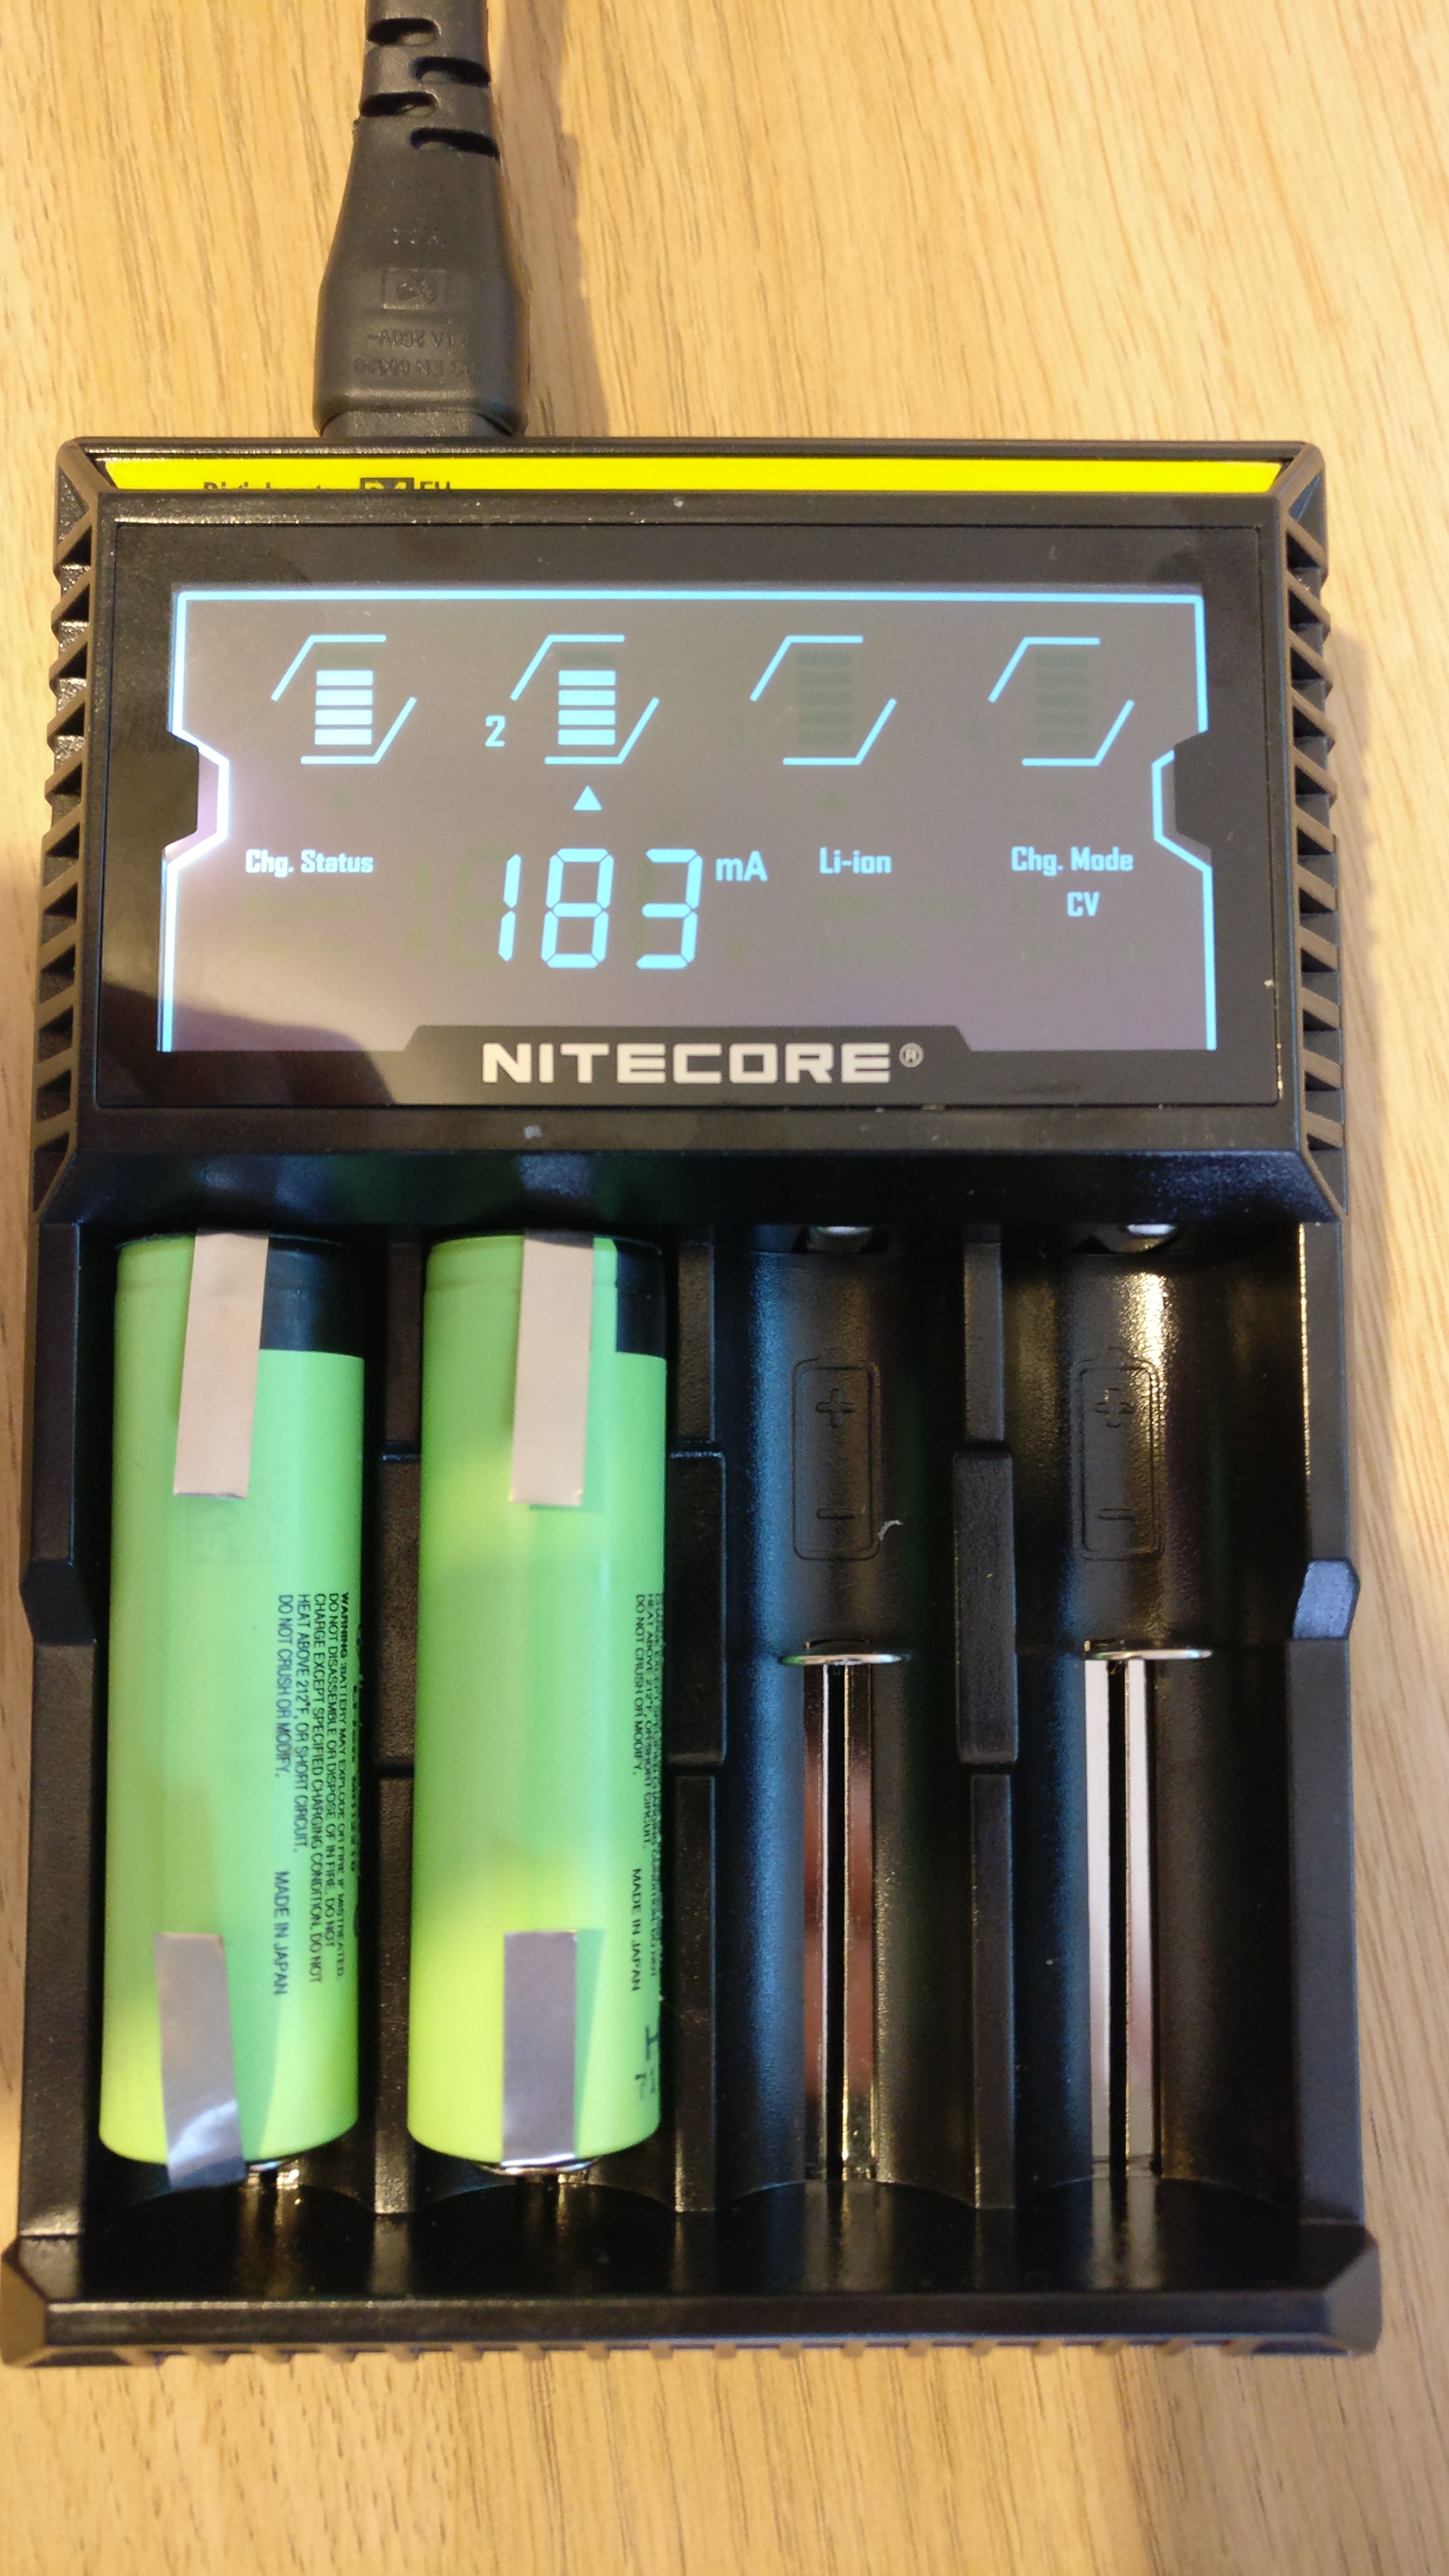
Before building the new battery pack. I charged the cells to ensure they were balanced. This is not absolutely necessary, but if you have a 18650 charger give it a go.
Dismantling
- Remove the small T6 screw on the bottom of the light.
- Remove the Allen Key bolt holding the mount to the light body.
- Using a finger nail, lift up the rubber on off switch button.
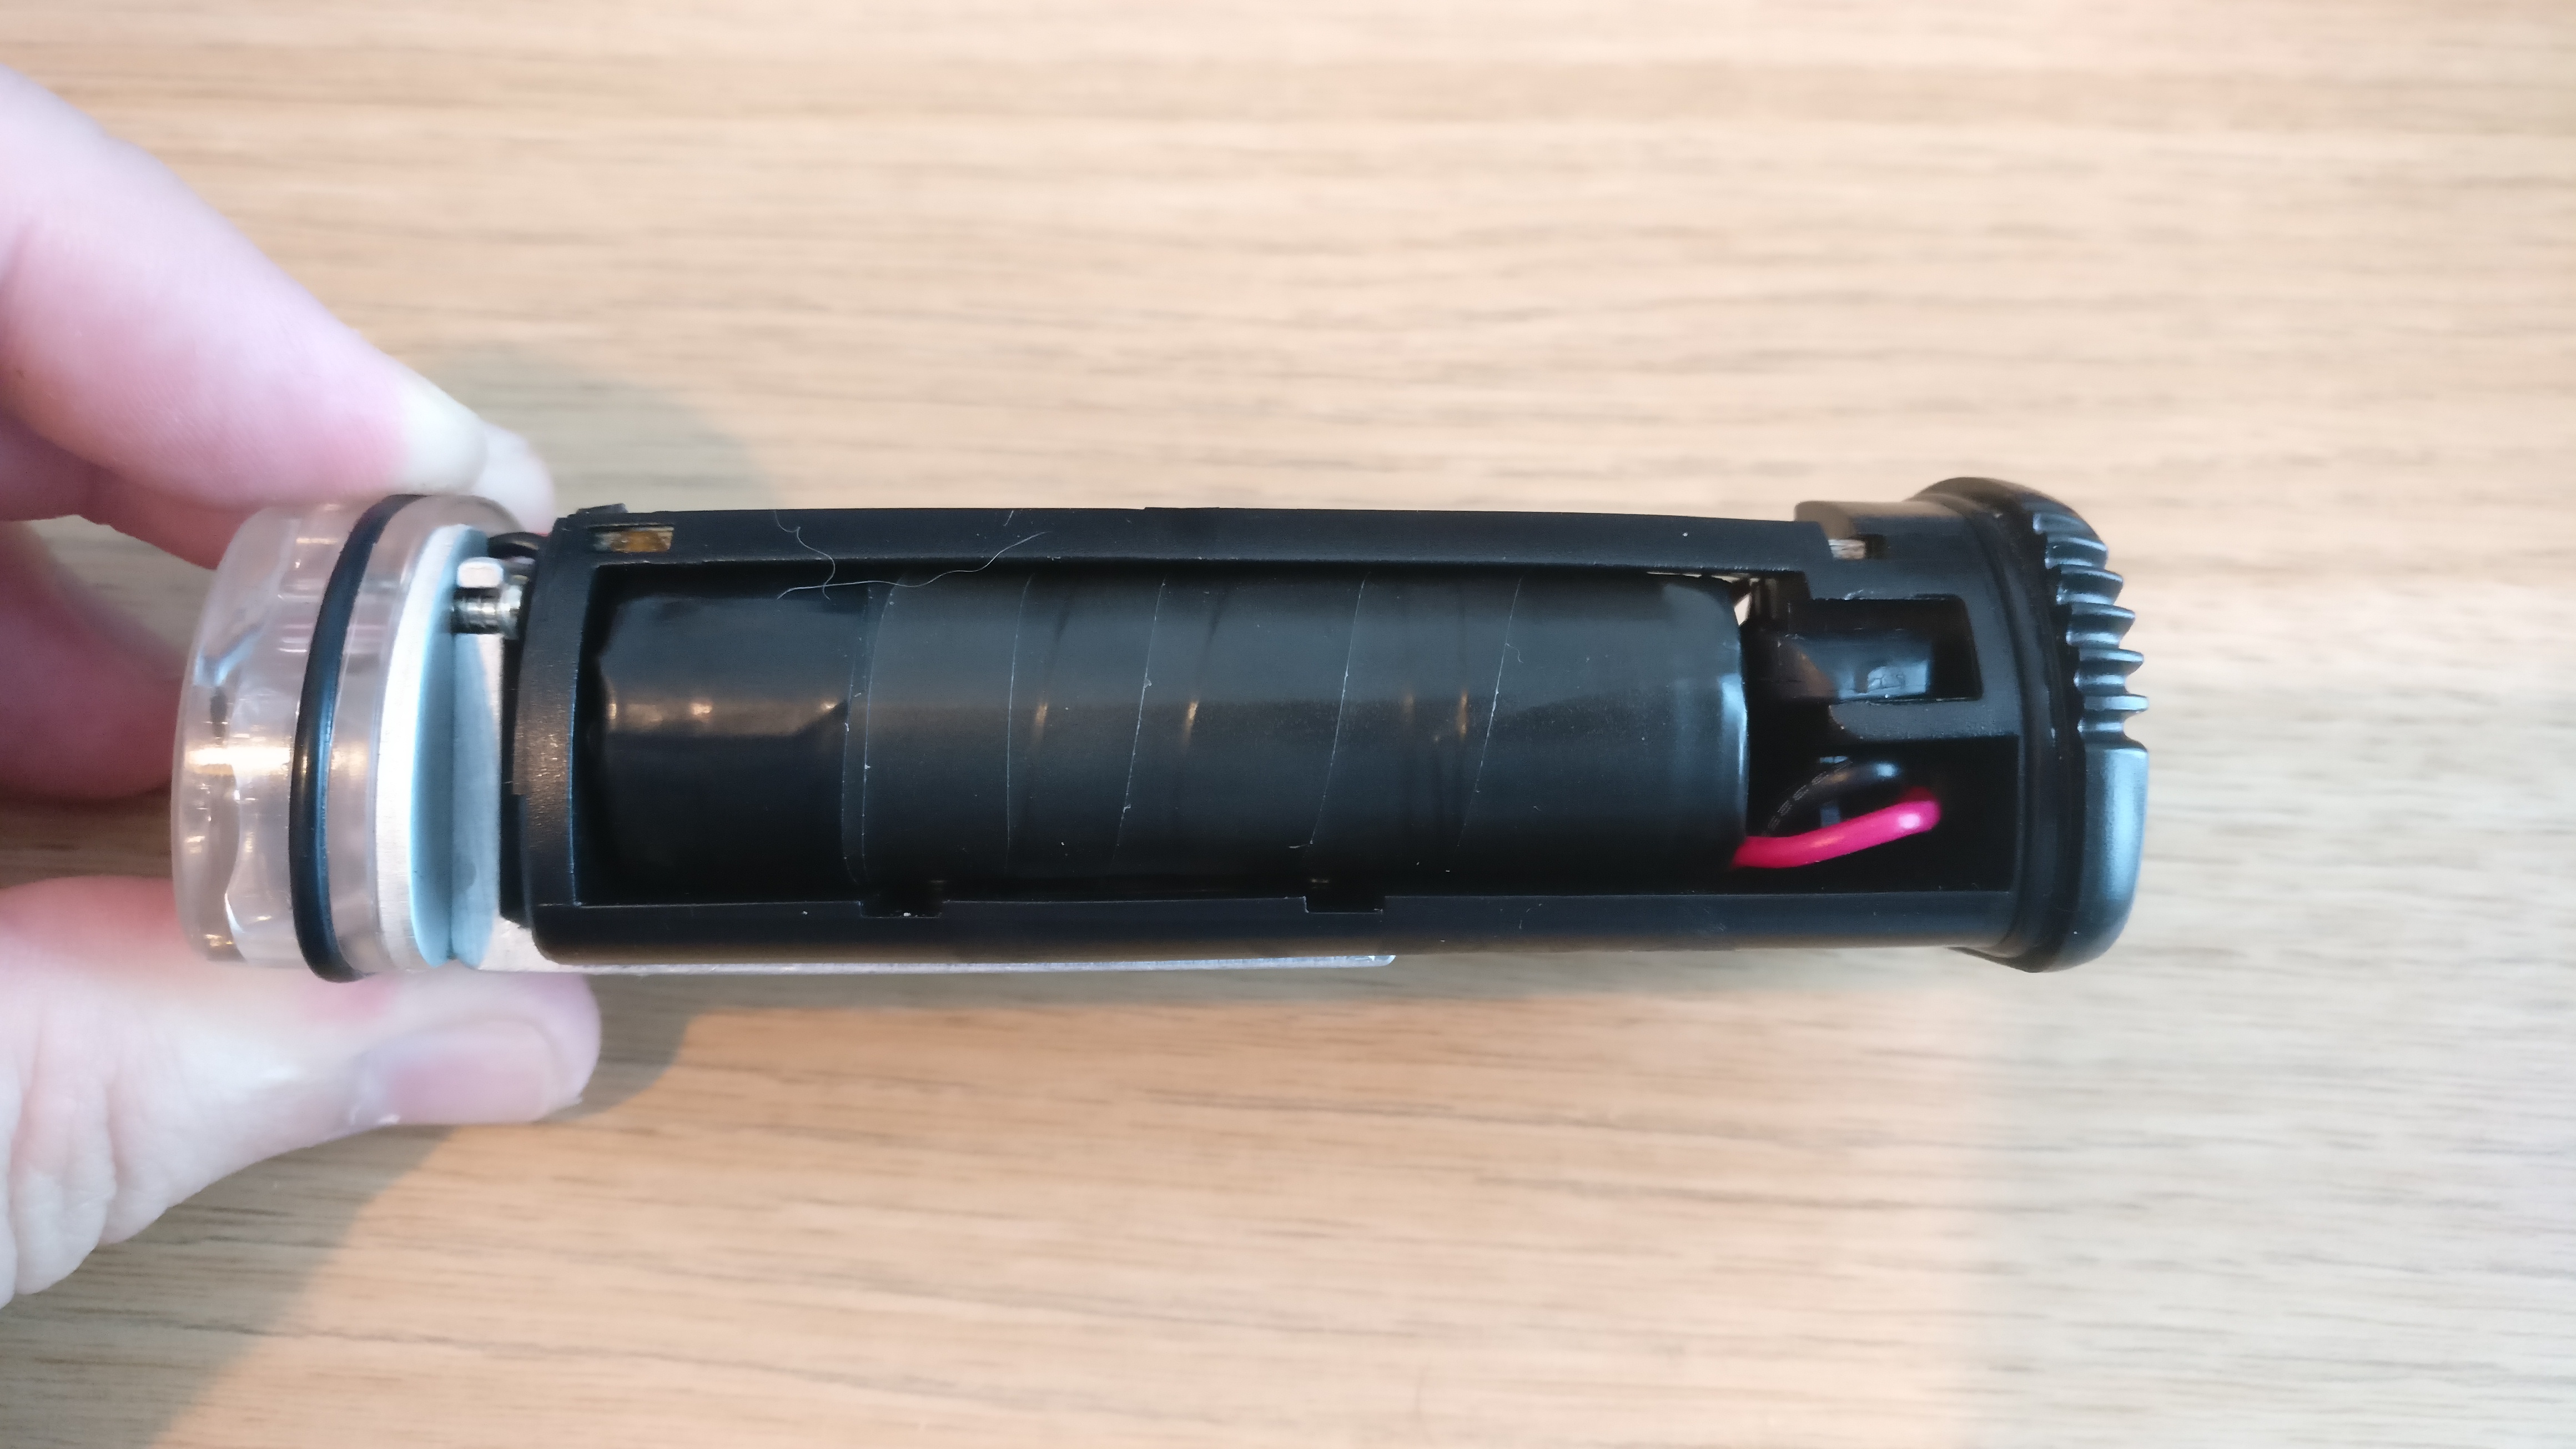
- Push on the light lens, so the inside of the light slides out the rear of the body.
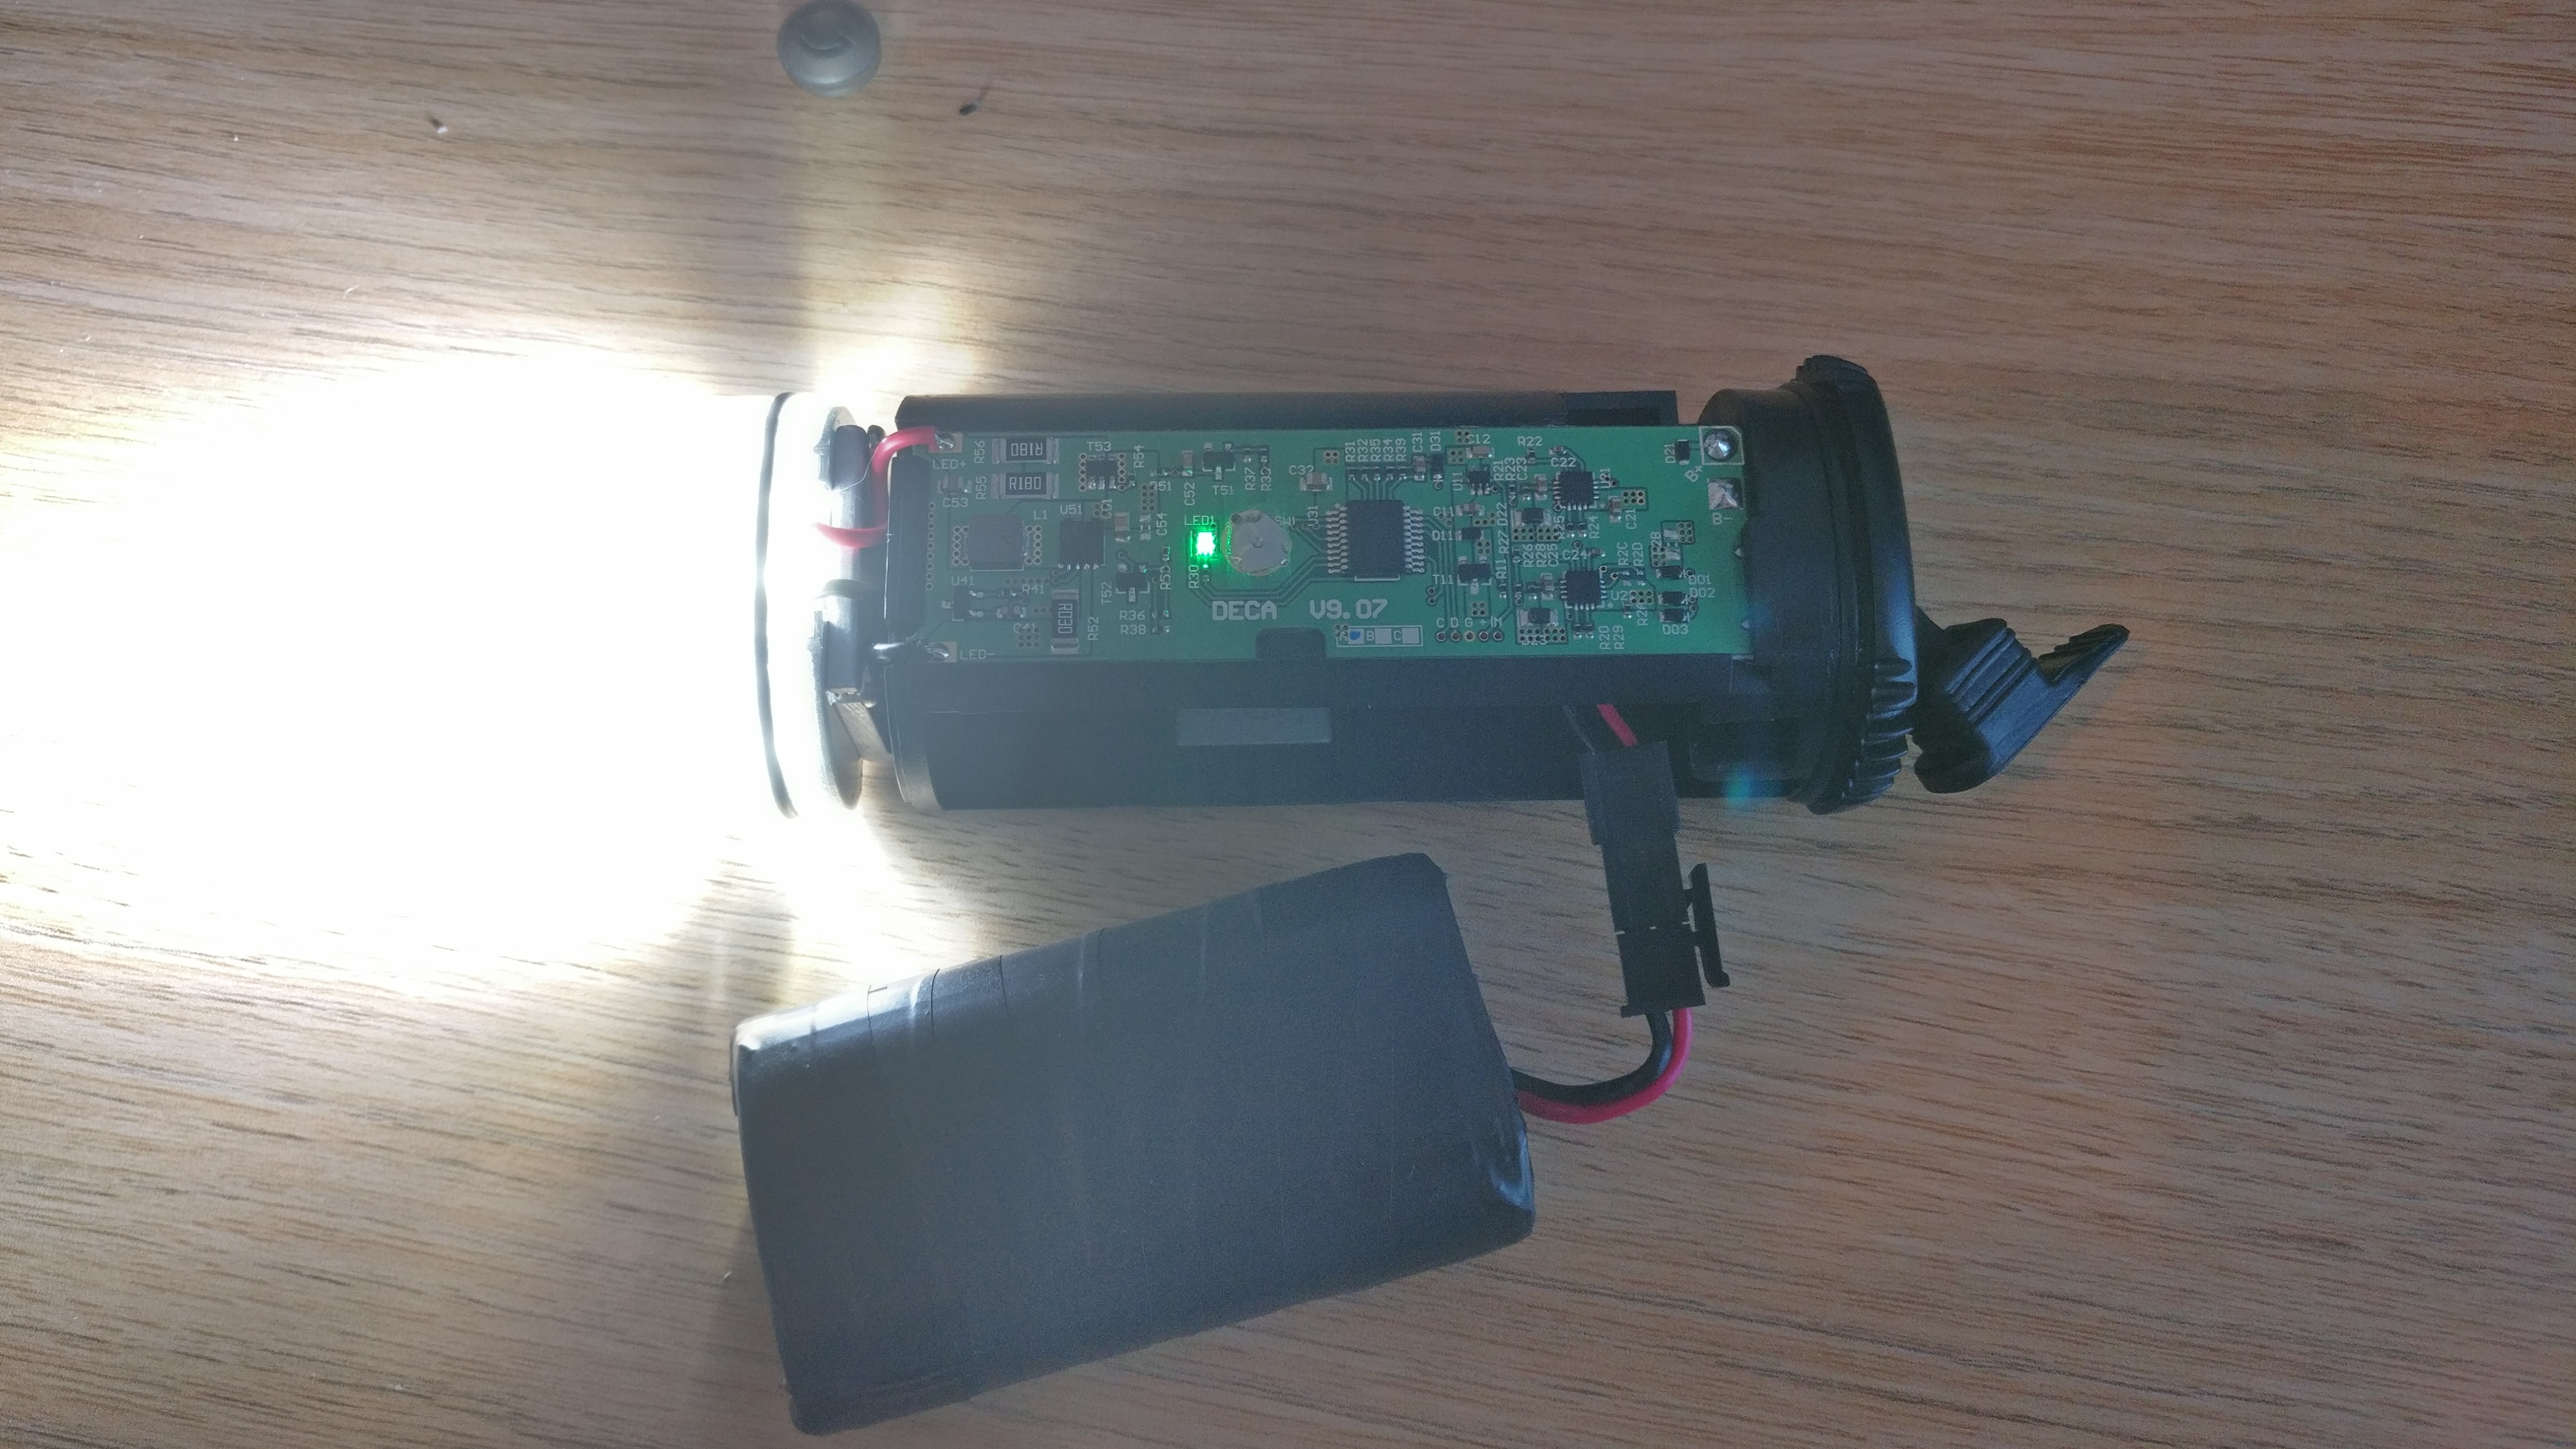
The battery pack is in the bottom of the light. In this case it was wrapped in a blue heatshrink layer protecting the cells.
Building a new battery pack
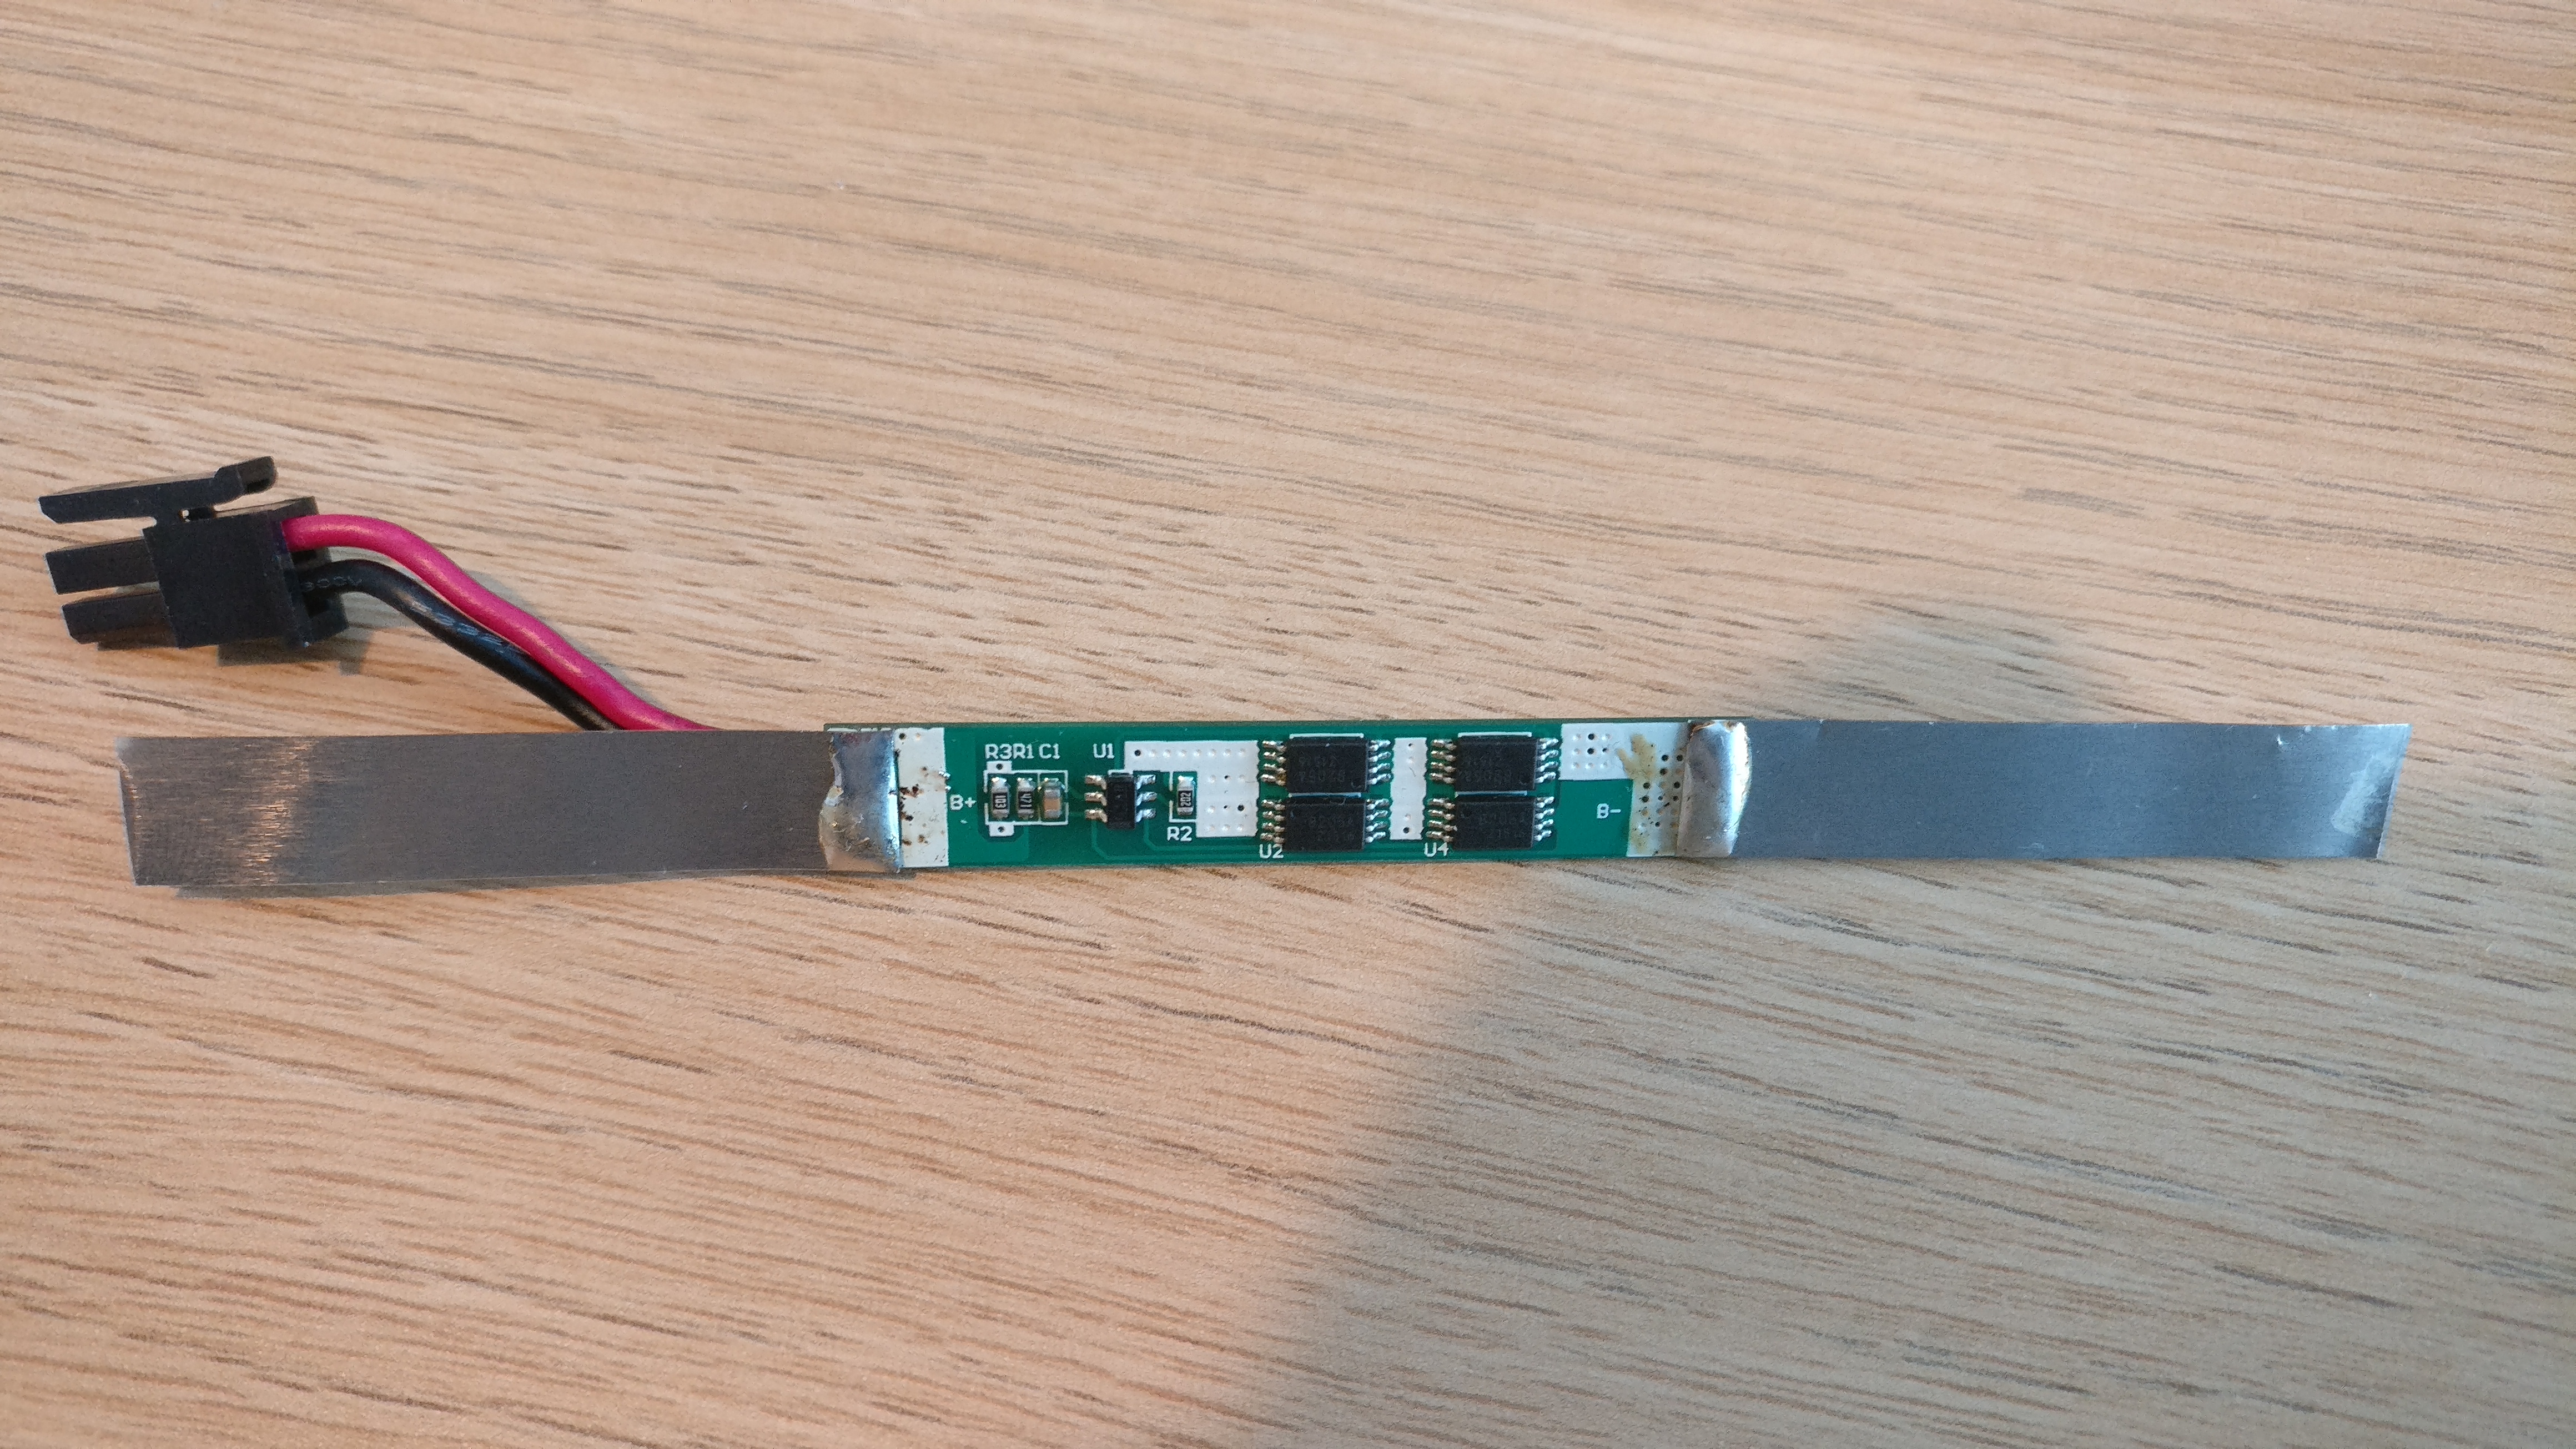
Before building the new pack salvage the protection circuit PCB from the old pack. Do this by using a hobby knife to cut the heat shrink wrap from the existing battery pack. Once inside you will see the PCB attached between the two parallel 18650 cells. Using wire cutters, carefully cut the metal tabs which are attached to the PCB. Cut them as close to the top of the cell as possible. Otherwise you will need to solder new metal tabs to the PCB when building the new pack.
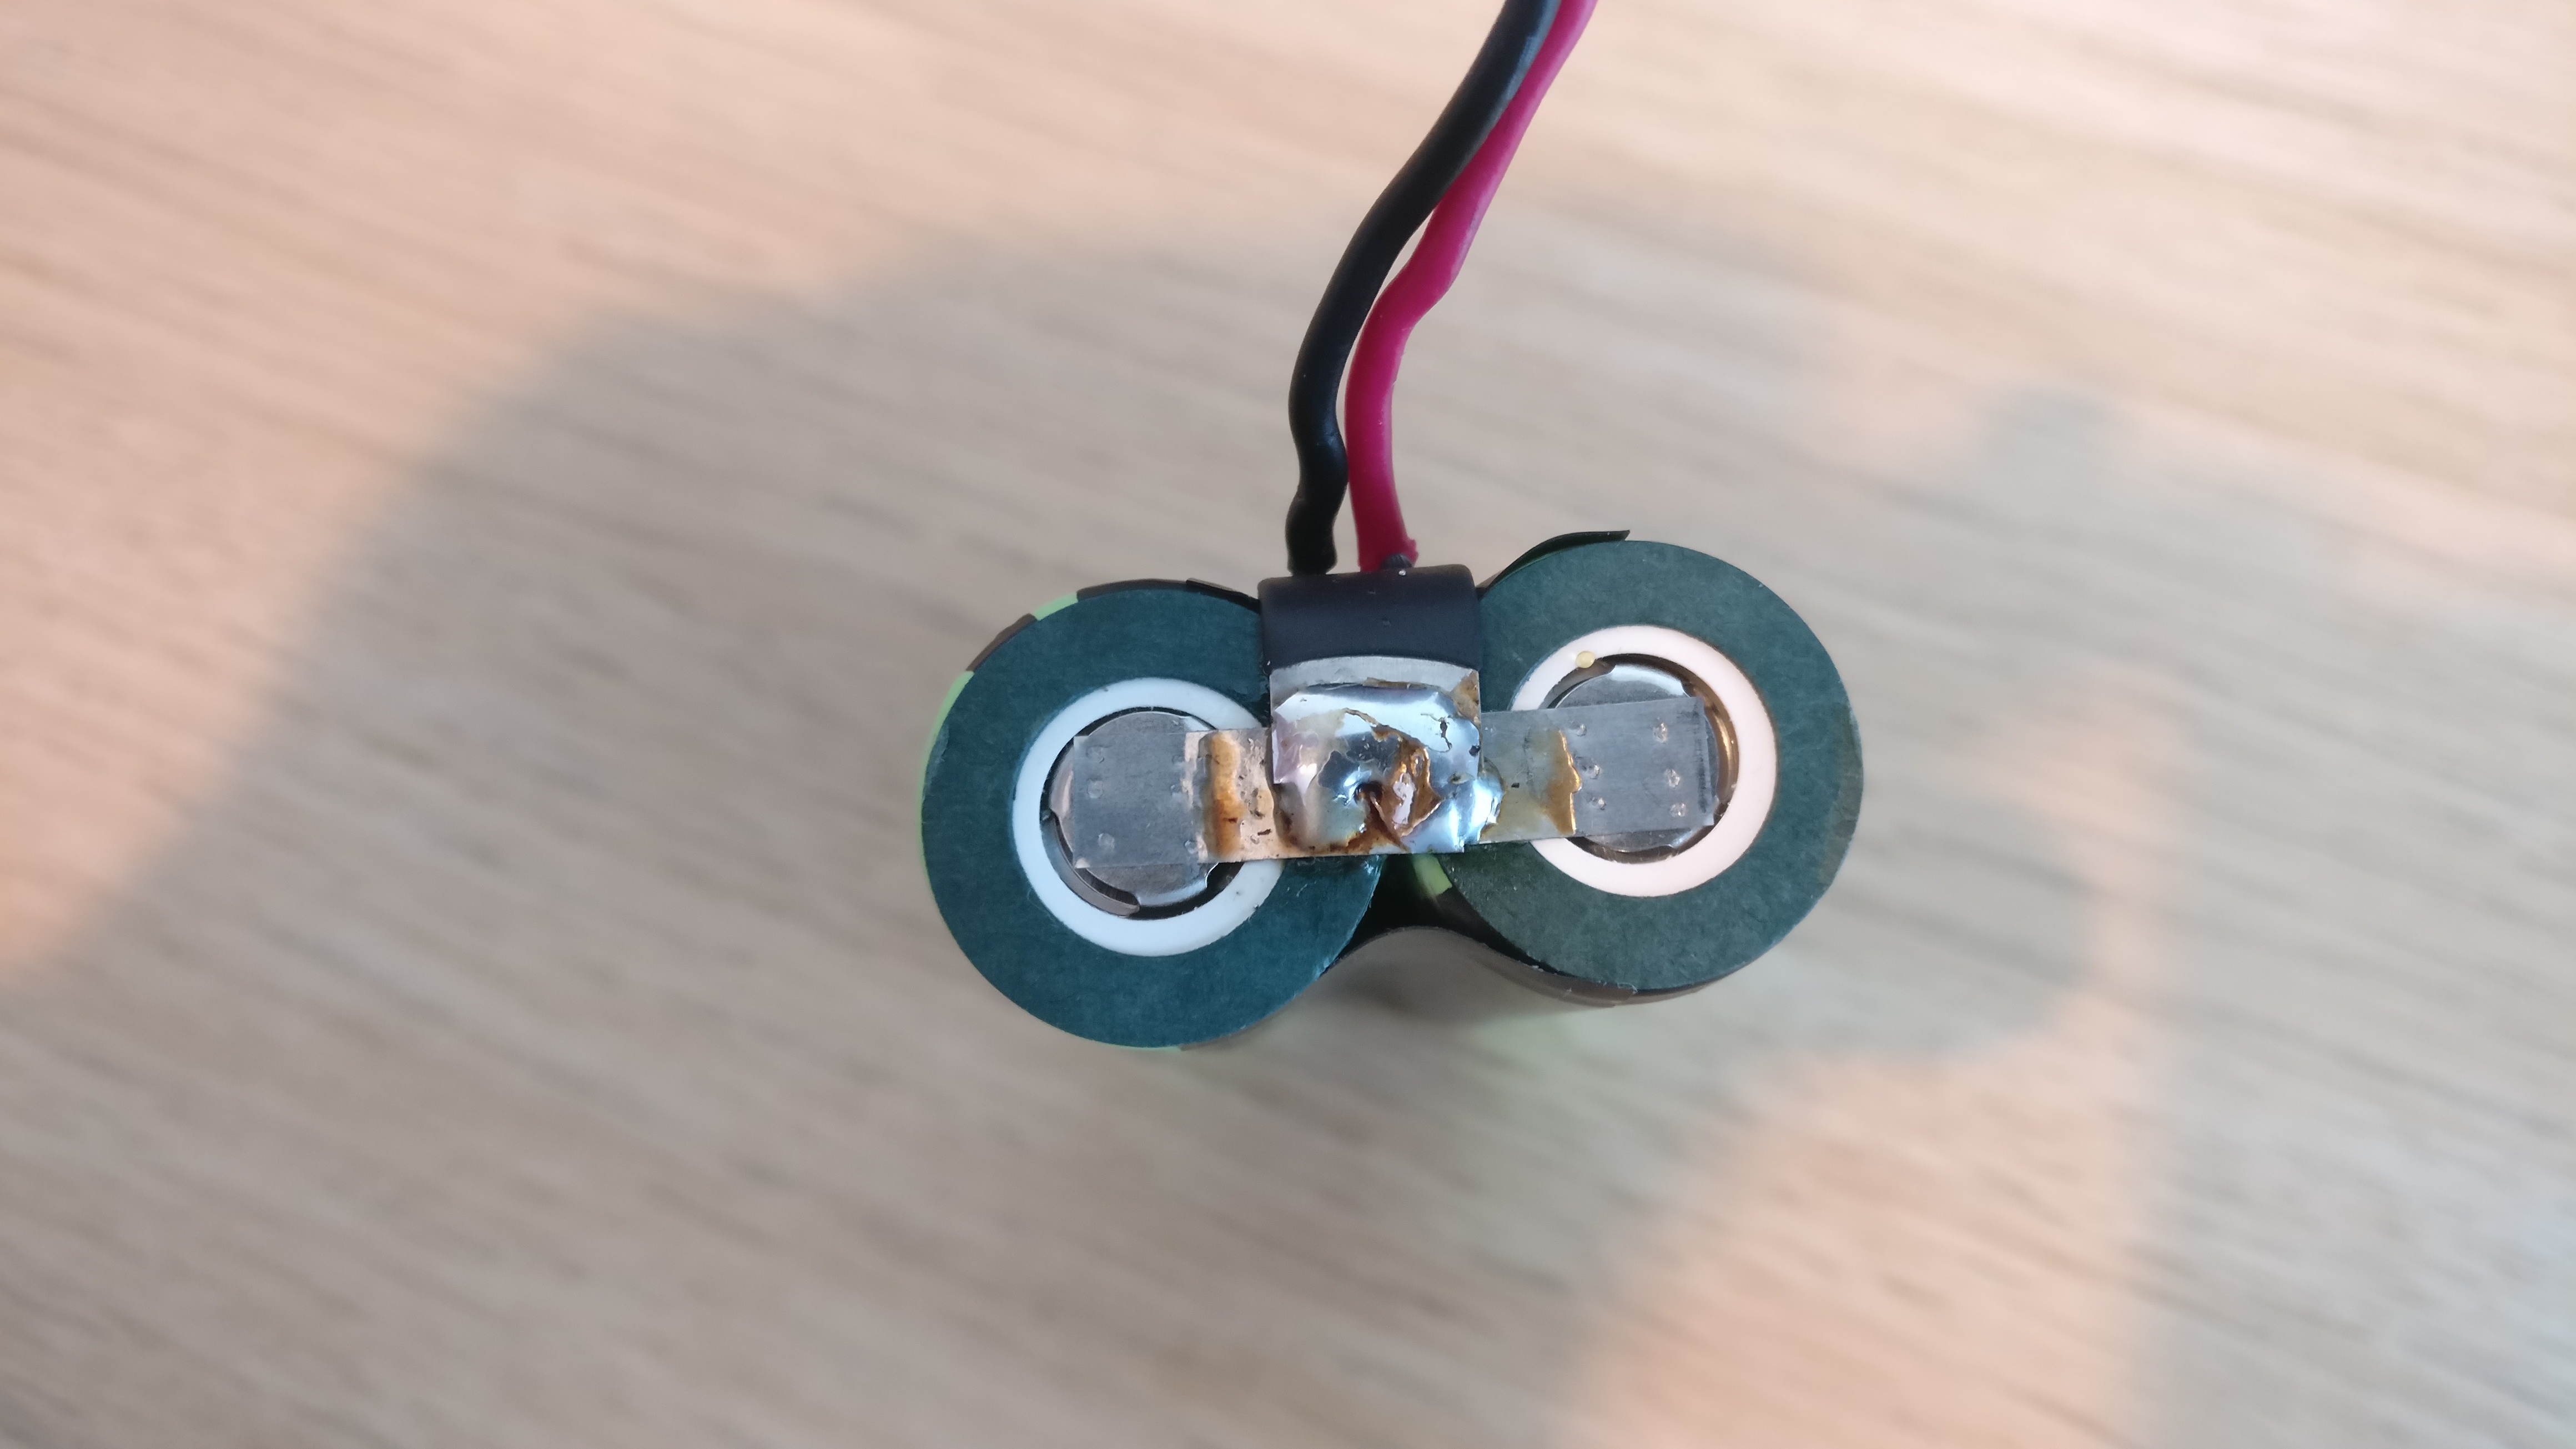
Using a flat surface, glue the two cells together with super glue and solder their tabs together. You MUST ensure the cells are soldered together with the correct polarity. Solder positive to positive and negative to negative. It’s really important you get this right otherwise it is likely the batteries may catch fire or explode. Put some electrical insulation tape length wise between the positive and negative terminals. This helps prevent any short circuit between the PCB and cells.
Now solder the PCB tabs to the positive and negative terminals of the pack while ensuring the correct polarity. You should cover the tabs with heatshrink prior to soldering. Finally wrap the battery in electrical insulation tape. Start with one layer across the top and bottom terminals. Be careful to not make the wrap too thick otherwise you will struggle to fit the new pack in the light upon reassembly.

Testing the new battery pack.
Before putting the light back together, test the battery pack to make sure it works. If you accidentally shorted the batteries when building the pack, the protection circuit should have kicked in. You will need to charge the pack before you can draw power from it. This is a safety feature.
Reassemble
Slide the new battery pack into the light. Tuck the connector into the recess at the back. Make sure not to trap any of the wires. You may note the plastic casing looks ever so slightly bowed. I think these cells might be slightly wider than the originals, it does not cause an issue though.
Reassembly is the reverse of disassembly, make sure none of the o’rings or seals are snagged, otherwise water may get into the housing.
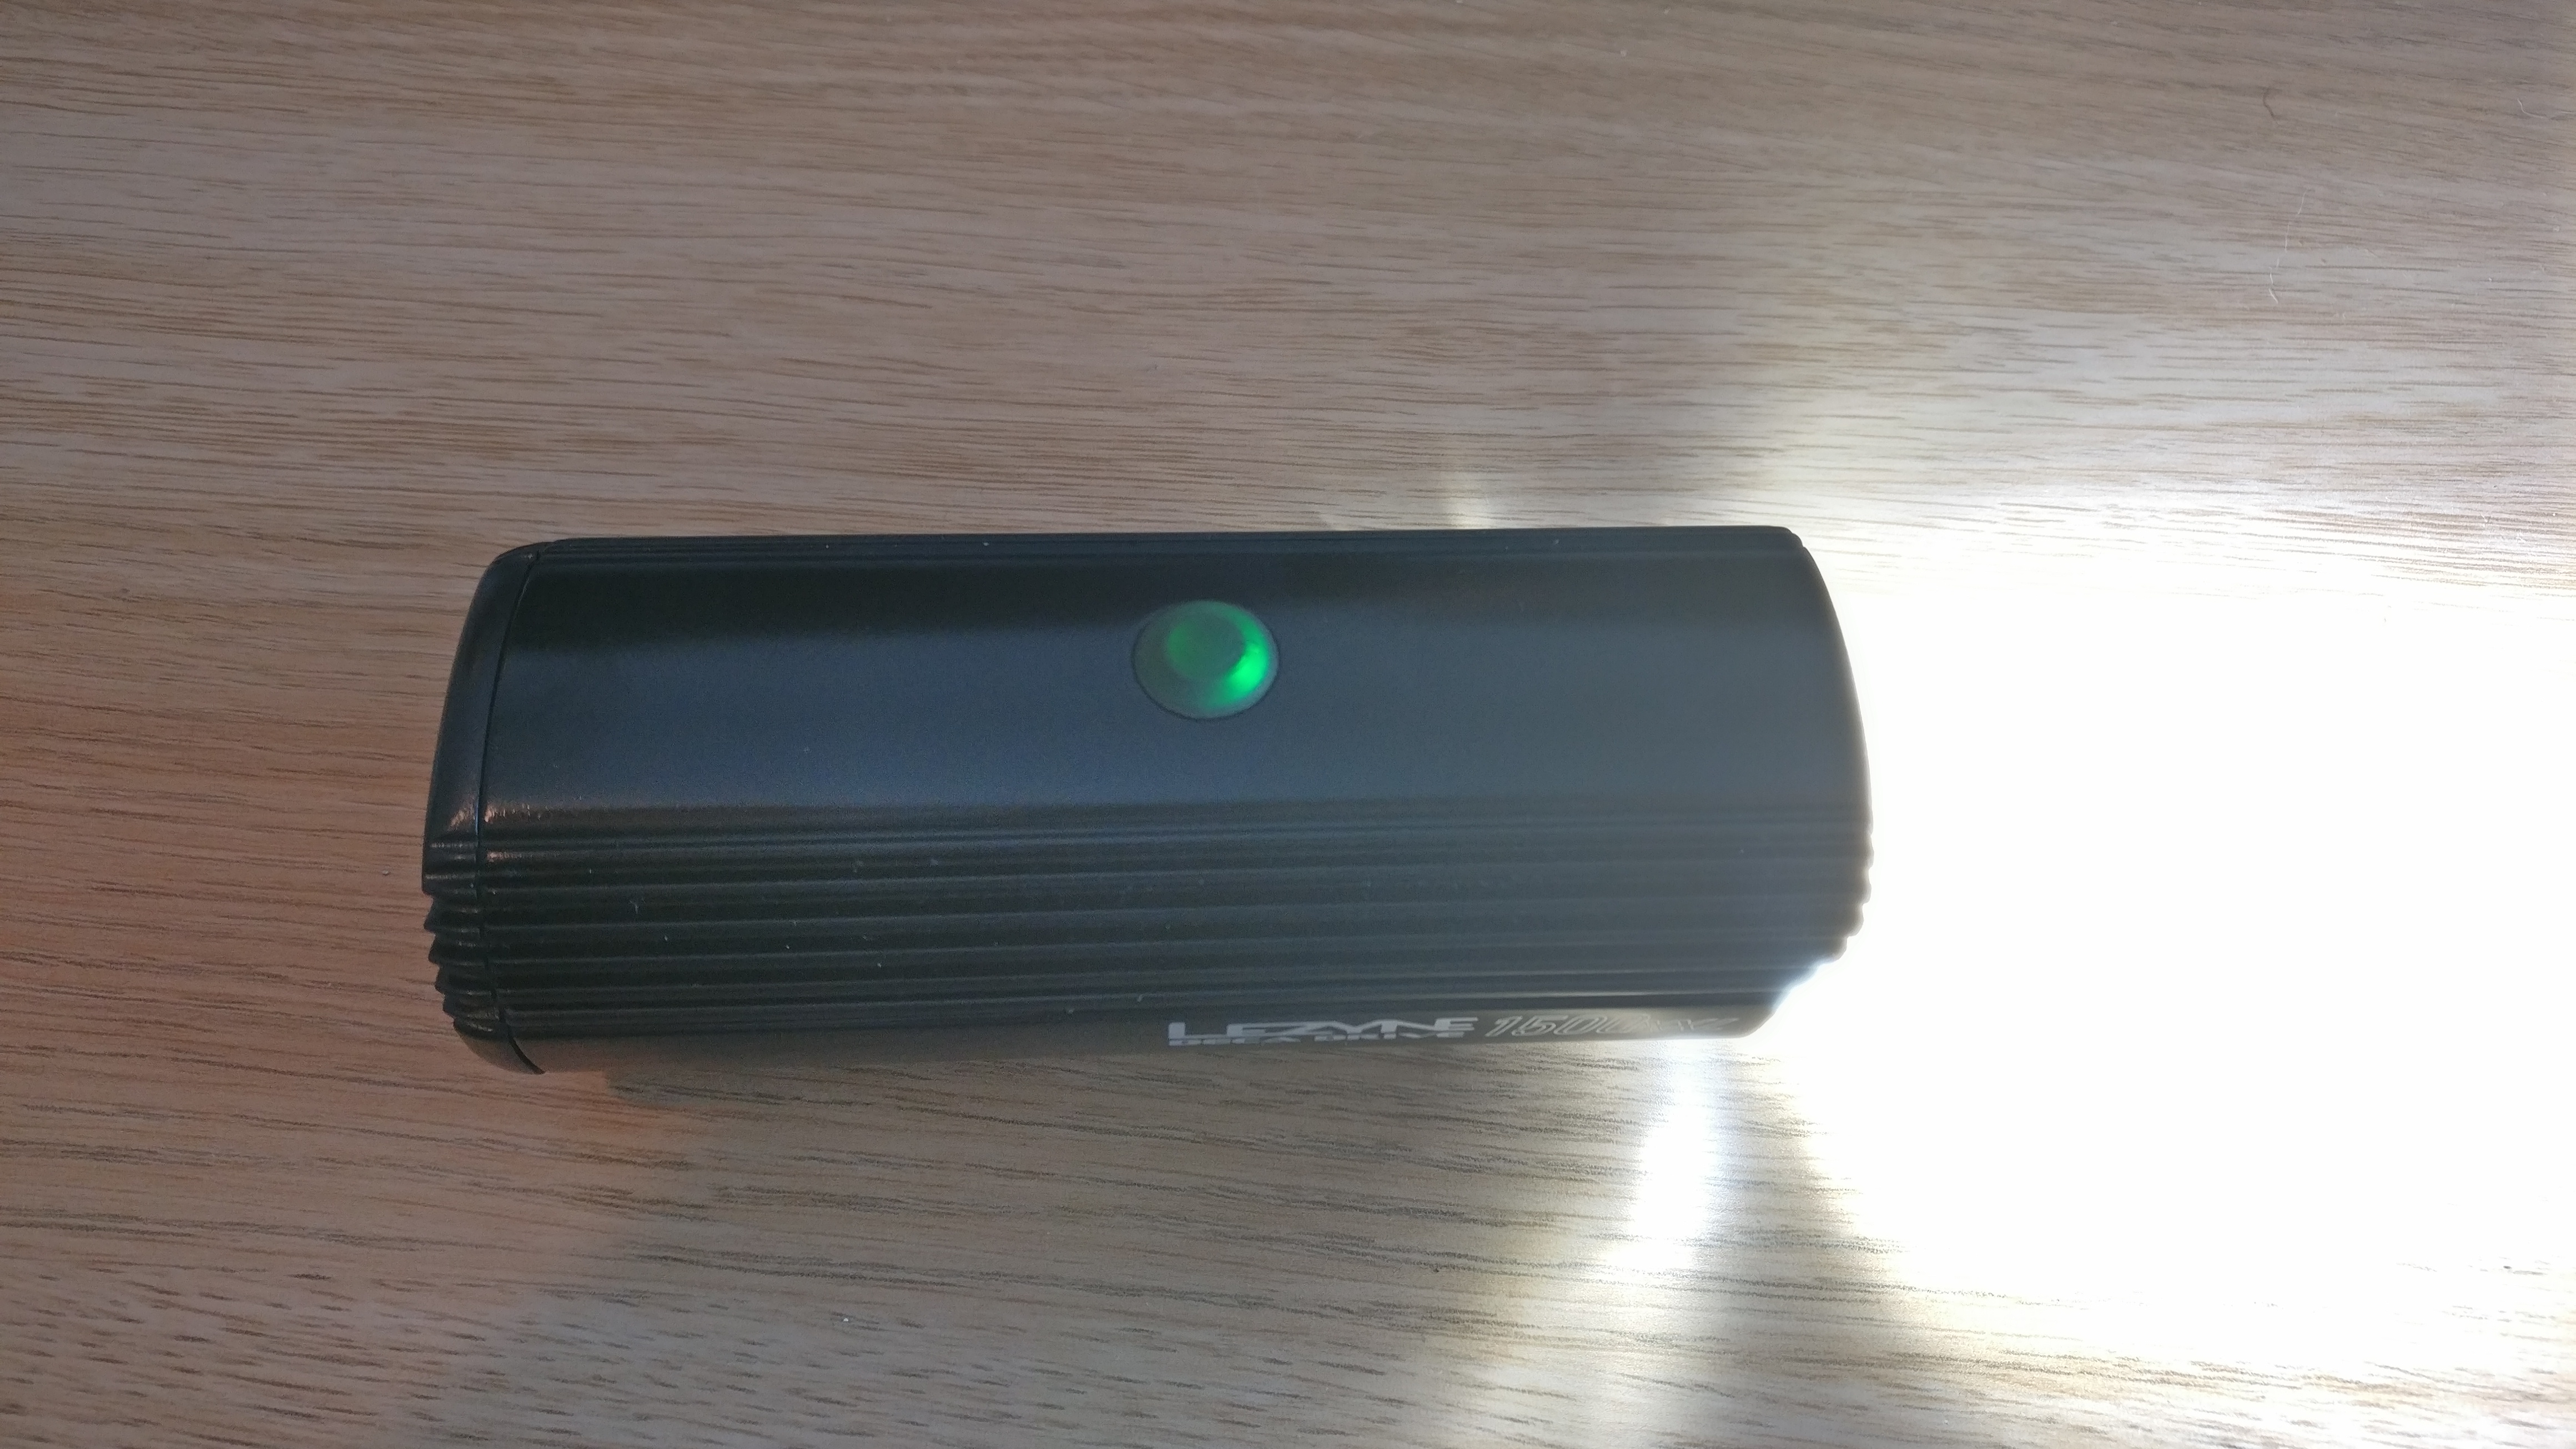
Test the light again and feel awesome in the knowledge the battery will last longer.
Hi Greg,
Thanks for your post, I have also had the same problem with the Lezyne Deca Drive 1500xxl battery giving up. I have ordered my batteries and will be making my pack up soon. It is such a shame that these expensive lights aren’t user replaceable for most people, although I have noticed that at least one Lezyne currently available is.
Thanks once again for you post.
No problem, you are more than welcome. I hope the new pack works well for you. Mine is still going strong. I think one of the key things with lithium batteries is not to leave them fully charged for too long or fully discharged. Somewhere in the middle is optimal. Let me know how your battery pack build goes, I would be interested to see it.
Hi I have a lezyne 1500xxl after my ride the other night went to charge unit and the charge port has fallen apart do you no where I could send to get fixed ?? Would be very grateful if someone could help me !! Cheers andy
Hello Alan,
I do not know of anywhere which would do repairs, but you might be able to do it yourself if you are handy with a soldering iron. It really depends if the tracks got broken when the port fell off. You might find replacement PCB mount micro USB ports on ebay or Aliexpress.
I went to use my Lezyne Superdrive 1200xxl recently and it was dead. So I stuck it on the charge and it never stopped charging and still would not switch on so I presumed the cells had died. Dismantled the light unit and saw that it was 2x 18650 cells with a circuit board so then turned to Google to try and source one and found your blog post, thanks for thank. Might have a go if I can find someone with a soldering iron I can borrow.
Thanks for your comment Derek, how did you get on with the soldering? It takes quite a powerful soldering iron to solder directly on to the 18650 as they tend to wick up the heat quite easily. I think I ran mine at 60W to get the solder to flow well enough.
Thanks for the instructions. My deca 1500 light just died, wouldn’t take any charge. FYI, Lezyne sells a replacement battery with wires, ready to go for $40. I’m going to order as I’m not comfortable sodering myself 😉
Thanks for reaching out Bob, I did not know they sell the replacement battery, useful to know though.
Thank you for this guide! Just rebuilt the battery of my Super Drive 1200 with 2x Samsung cells (lower capacity, but it’s fine as long the light is functional). The replacement is fairly straightforward, save for the soldering part, which I left to a local battery service shop. All in all, a 12,5€ job – well worth it if I can get another couple of years life out of my light.
Thanks for your comment Nikolay. I am glad you got your light fixed, they are good quality products and it would be a shame to have to buy a new one just for a dead battery. Safe riding.
Thanks for the detailed review Greg. I noticed that within the rubber button it had a plastic knob with 1 flat end while the other is rounded. It dropped out too quickly and I didn’t remember which direction am I supposed to place it in.
Flat side against circuit board: On/off switch becomes stiffer and harder to press.
Round side against circuit board: On/off switch is ‘softer’ and easier to press, but mode switching becomes an issue e.g. it occasionally gets stuck on max setting instead of econ setting when I pressed the button on overdrive mode.
Hi Greg, thanks for sharing your expertise.
There is a white plastic knob within the rubber switch with 2 ends (1 flat, 1 rounded). Which end should face the circuit board?
I noticed the following:
Flat end against circuit board: button is stiff and harder to press
Rounded end against circuit board: button is easier to press, but the lighting modes are occasionally stuck e.g. while on overdrive mode, the button press does not switch between max and min mode.
I can’t recall which way round it was when I took the light apart. I would have to strip it down again and check which way I have it. Also make sure the PCB is fully seated inside the light housing.
Hi,
I purchased a Leyzene SuperDrive 1200 xxl in 2015 and it worked well until this winter. Not really had a lot of use and tried to keep it charged up but the batteries have given up. I have contacted Leyzene and Wiggle who supplied the light but neither were any help regarding replacing the battery for me or advising me where I could get it replaced and whilst searching on the internet I found your tech blog regarding you replacing the battery in your light. Unfortunately I have no electronics experience so whilst your blog was interesting I still feel I would not tackle the job myself, is there any possibility if I paid you would you be able to carry out the work on my light.
Thank you for your comment Marion, unfortunately I am not in the market of doing repairs for others. Any hobbyist electronics enthusiast should be able to do this work though.
Great article! I am going through the same issue just now and was trying to replace the batteries. My only issue is that the pcb appears quite badly corroded and would prefer if I could replace that too once i’m at it. Any idea how to tell what rating the pcb should be or its specs? There doesn’t seem to be anything written on the board itself.
Hello Anton, Do you mean the little board that sits between the two battery cells? If so have a look on ebay for 2S Lithium Ion BMS (Battery Management System) or alternatively on AliExpress.
Yepp that’s it… I did a search online but found a number of boards with different current and voltage rating. The battery cells are connected in parallel therefore the voltage of the pack will remain 3.7V… however what current rating should the BMS have? I found ones that are 2A, 3A, 5A… I believe my lezyne light has a 2 Amp USB charging capability.
Hi greg great page helps alot of people and still in 2019!!!
My item has stopped being able to charge it just flashes green constantly. now i have read that the PCB may need to be reset as the charge has got too low or high? any knowledge on doing this?
The other thing is I was looking to build a new battery pack and have seen that you can buy this type of battery form up to 9000mAhr? i assume these may be Chinese fakes, i am also aware that at this higher capacity the discharge rate may be limited – do you know wat discharge rate is required on these batteries for the deca 15000XL? i was wondering if I could push up the battery capacity by buying 2x3500mAhr replacements as long as they matched the discharge capacity?
Hello David,
Thanks for reaching out, you will probably find if it is not charging it’s due to the cells becoming dead. The 9000mah 18650 cells are fakes indeed, i think the maximum you can expect to find are in the region of 3500mah possibly 4000mah. I am unaware what discharge rating the cells will need to support the light, however I would have thought most 18650 cells will be capable enough as they able to provide high current.
Hi Greg, hope you are still tending this blog!
I have a 1500, and the charging port has a little push down interface, it looks like, and this piece popped off.
Have you any idea how the PCB comes out, or does it, so I can see if I can push this back in and solder it?
Regards,
John H
Hello John, off the top of my head i think the whole assembly slides out of the housing. There might be some screws in the bottom. I can’t remember which way it slides out, I think from memory you push on the lens and it slides out backwards but don’t quote me on that.
Yes, managed to split casing easily enough, and can see top side of board. It sits on top pf battery housing. I have gently given it a few lifts but it will not pop off, or slide out. Was hoping you might have an idea of how to get it out, without damaging it?
Any chance we can replace the LED in the same manner? Perhaps a boost in output over the 1200/1500 lumens rated…are these Cree XM-L emitters?
I am not too sure on replacing the LED’s I think they are some Cree variant but unsure which model. The thing to remember replacing the LED’s is that they will only be driven with the current provided from the board. If it’s a constant current source then even if the LED’s are replaced they will only be driven with the same current as the old ones.
Which is perfect, keeping the run times consistent is ideal for me. Binning iterations of LEDs typically see ~10% boosts in brightness, almost annually… My light is 3 years old, so I might see a 30% boost in output by going with the latest bin of the LED. Conversely, I can run the light at a lower setting and eek out more battery life.
Plus it may give me a little project while I’m quarantined in my nerdery 😉
–Cheers!