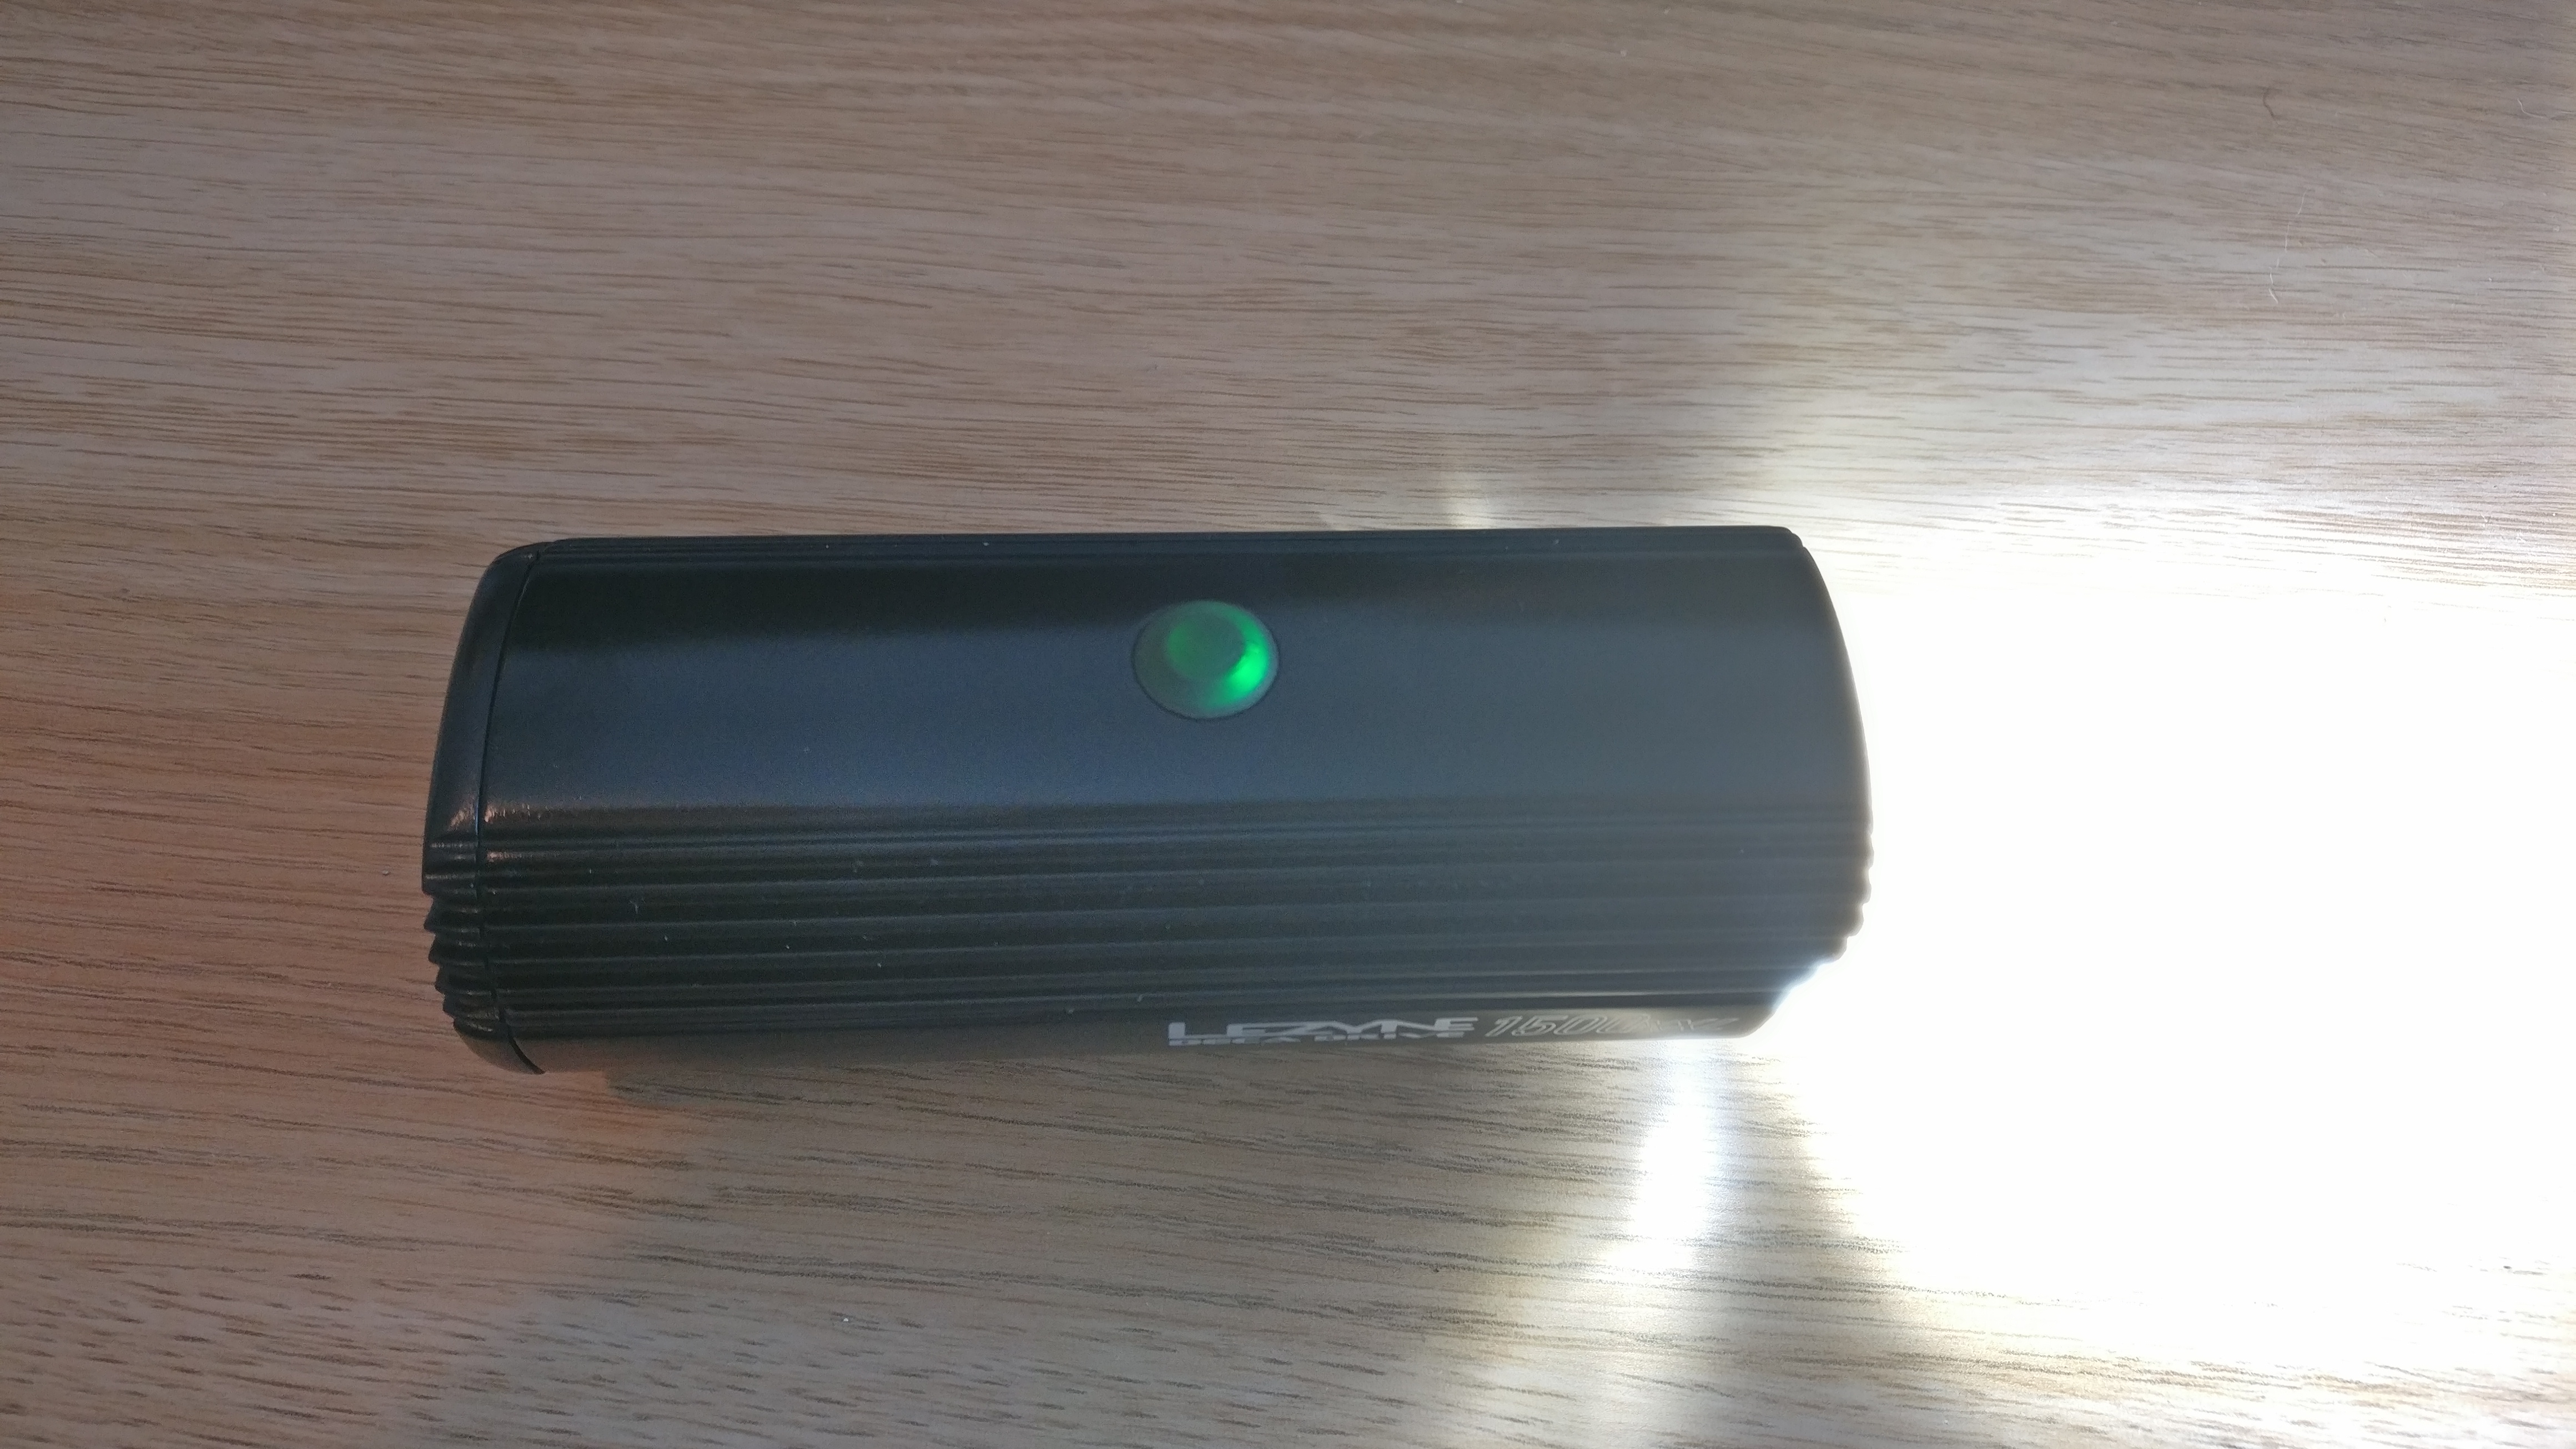
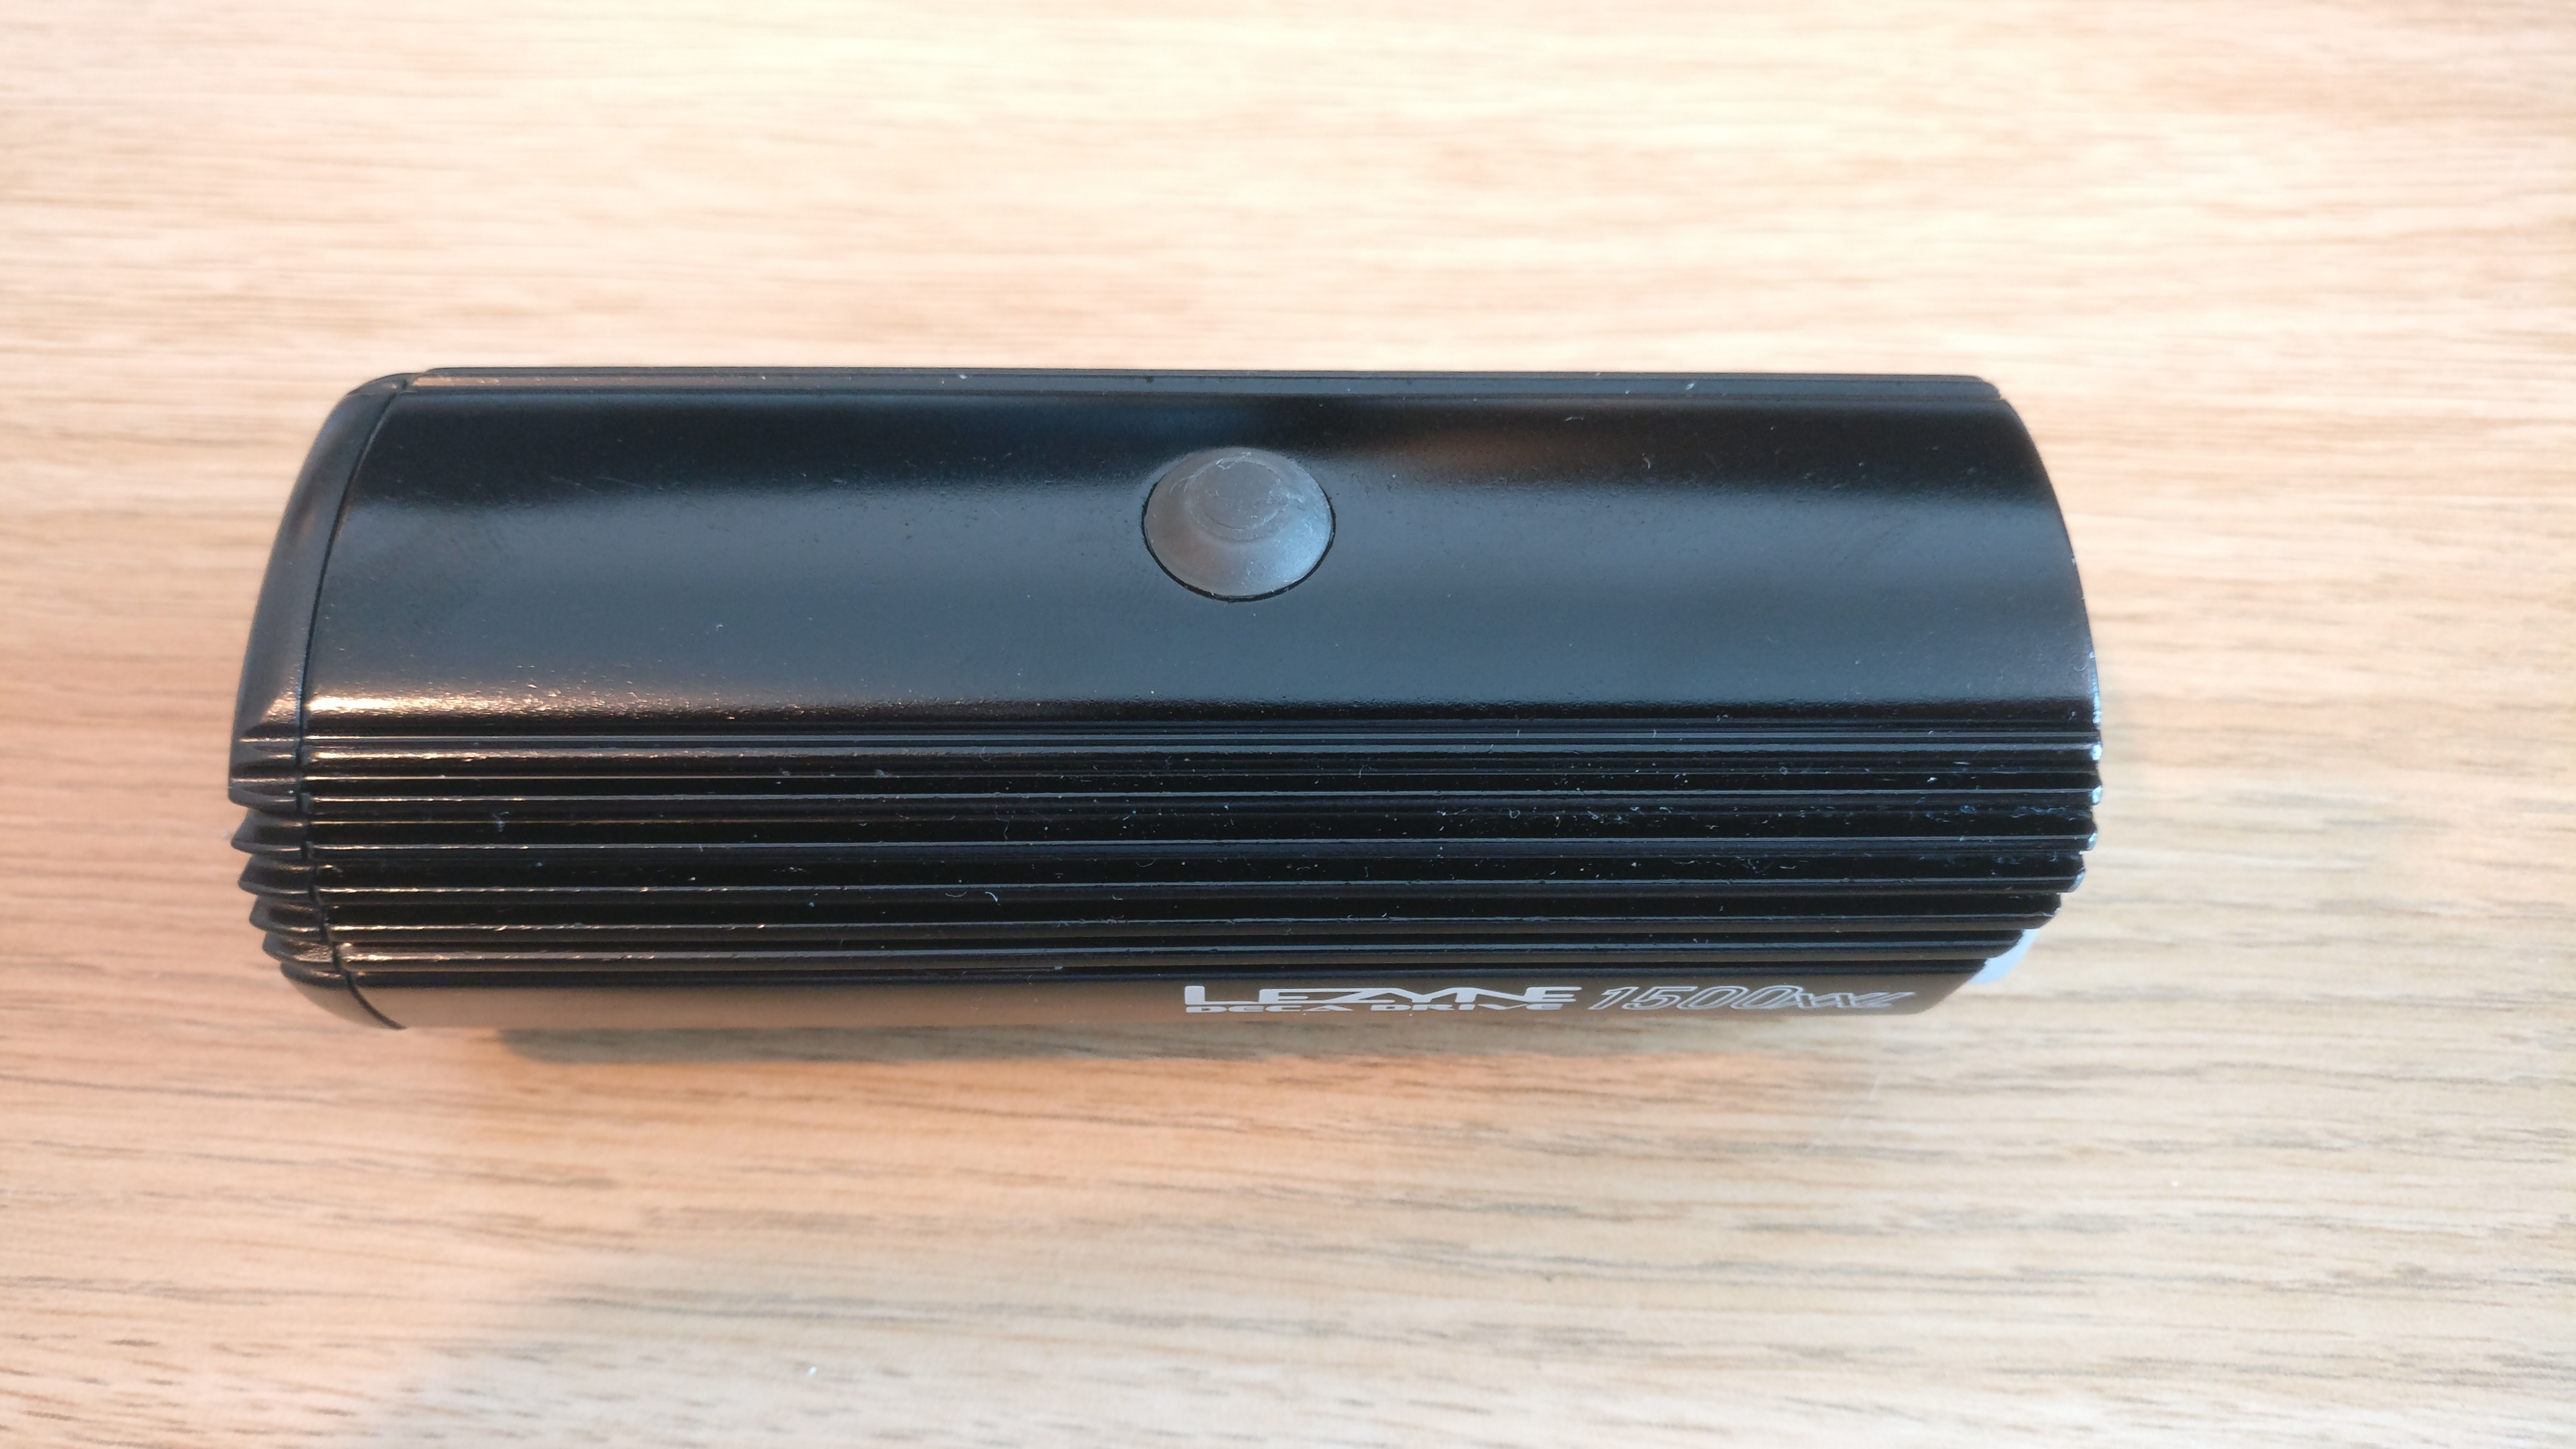
November 2015 I bought a new bike light, I was getting into cycling at the time and wanted to be able to commute home from work in the dark. My choice of light in the end was the Lezyne Deca Drive 1500xxl. For those of you that know its an all in one light capable of delivering 1500 lumen’s for over an hour.
Now, almost 2 years later I am still using this quality bike light. However just like laptop batteries, the factory batteries in this light lost some capacity meaning less run time which has become a problem having let me down a couple of times.
Having some electronics experience. I decided to see if I could replace the batteries myself.
Getting Started
The cells inside the Lezyne Deca Drive 1500xxl are 2 x 2800mah 18650. You can get these from eBay or Aliexpress. The ones I am using are Panasonic NCR18650B with tabs. Tabbed cells make assembling the new pack much easier. Not only are 18650 cells hard to solder due to sinking heat rapidly from the soldering iron. The cell can also become damaged from excess heat.
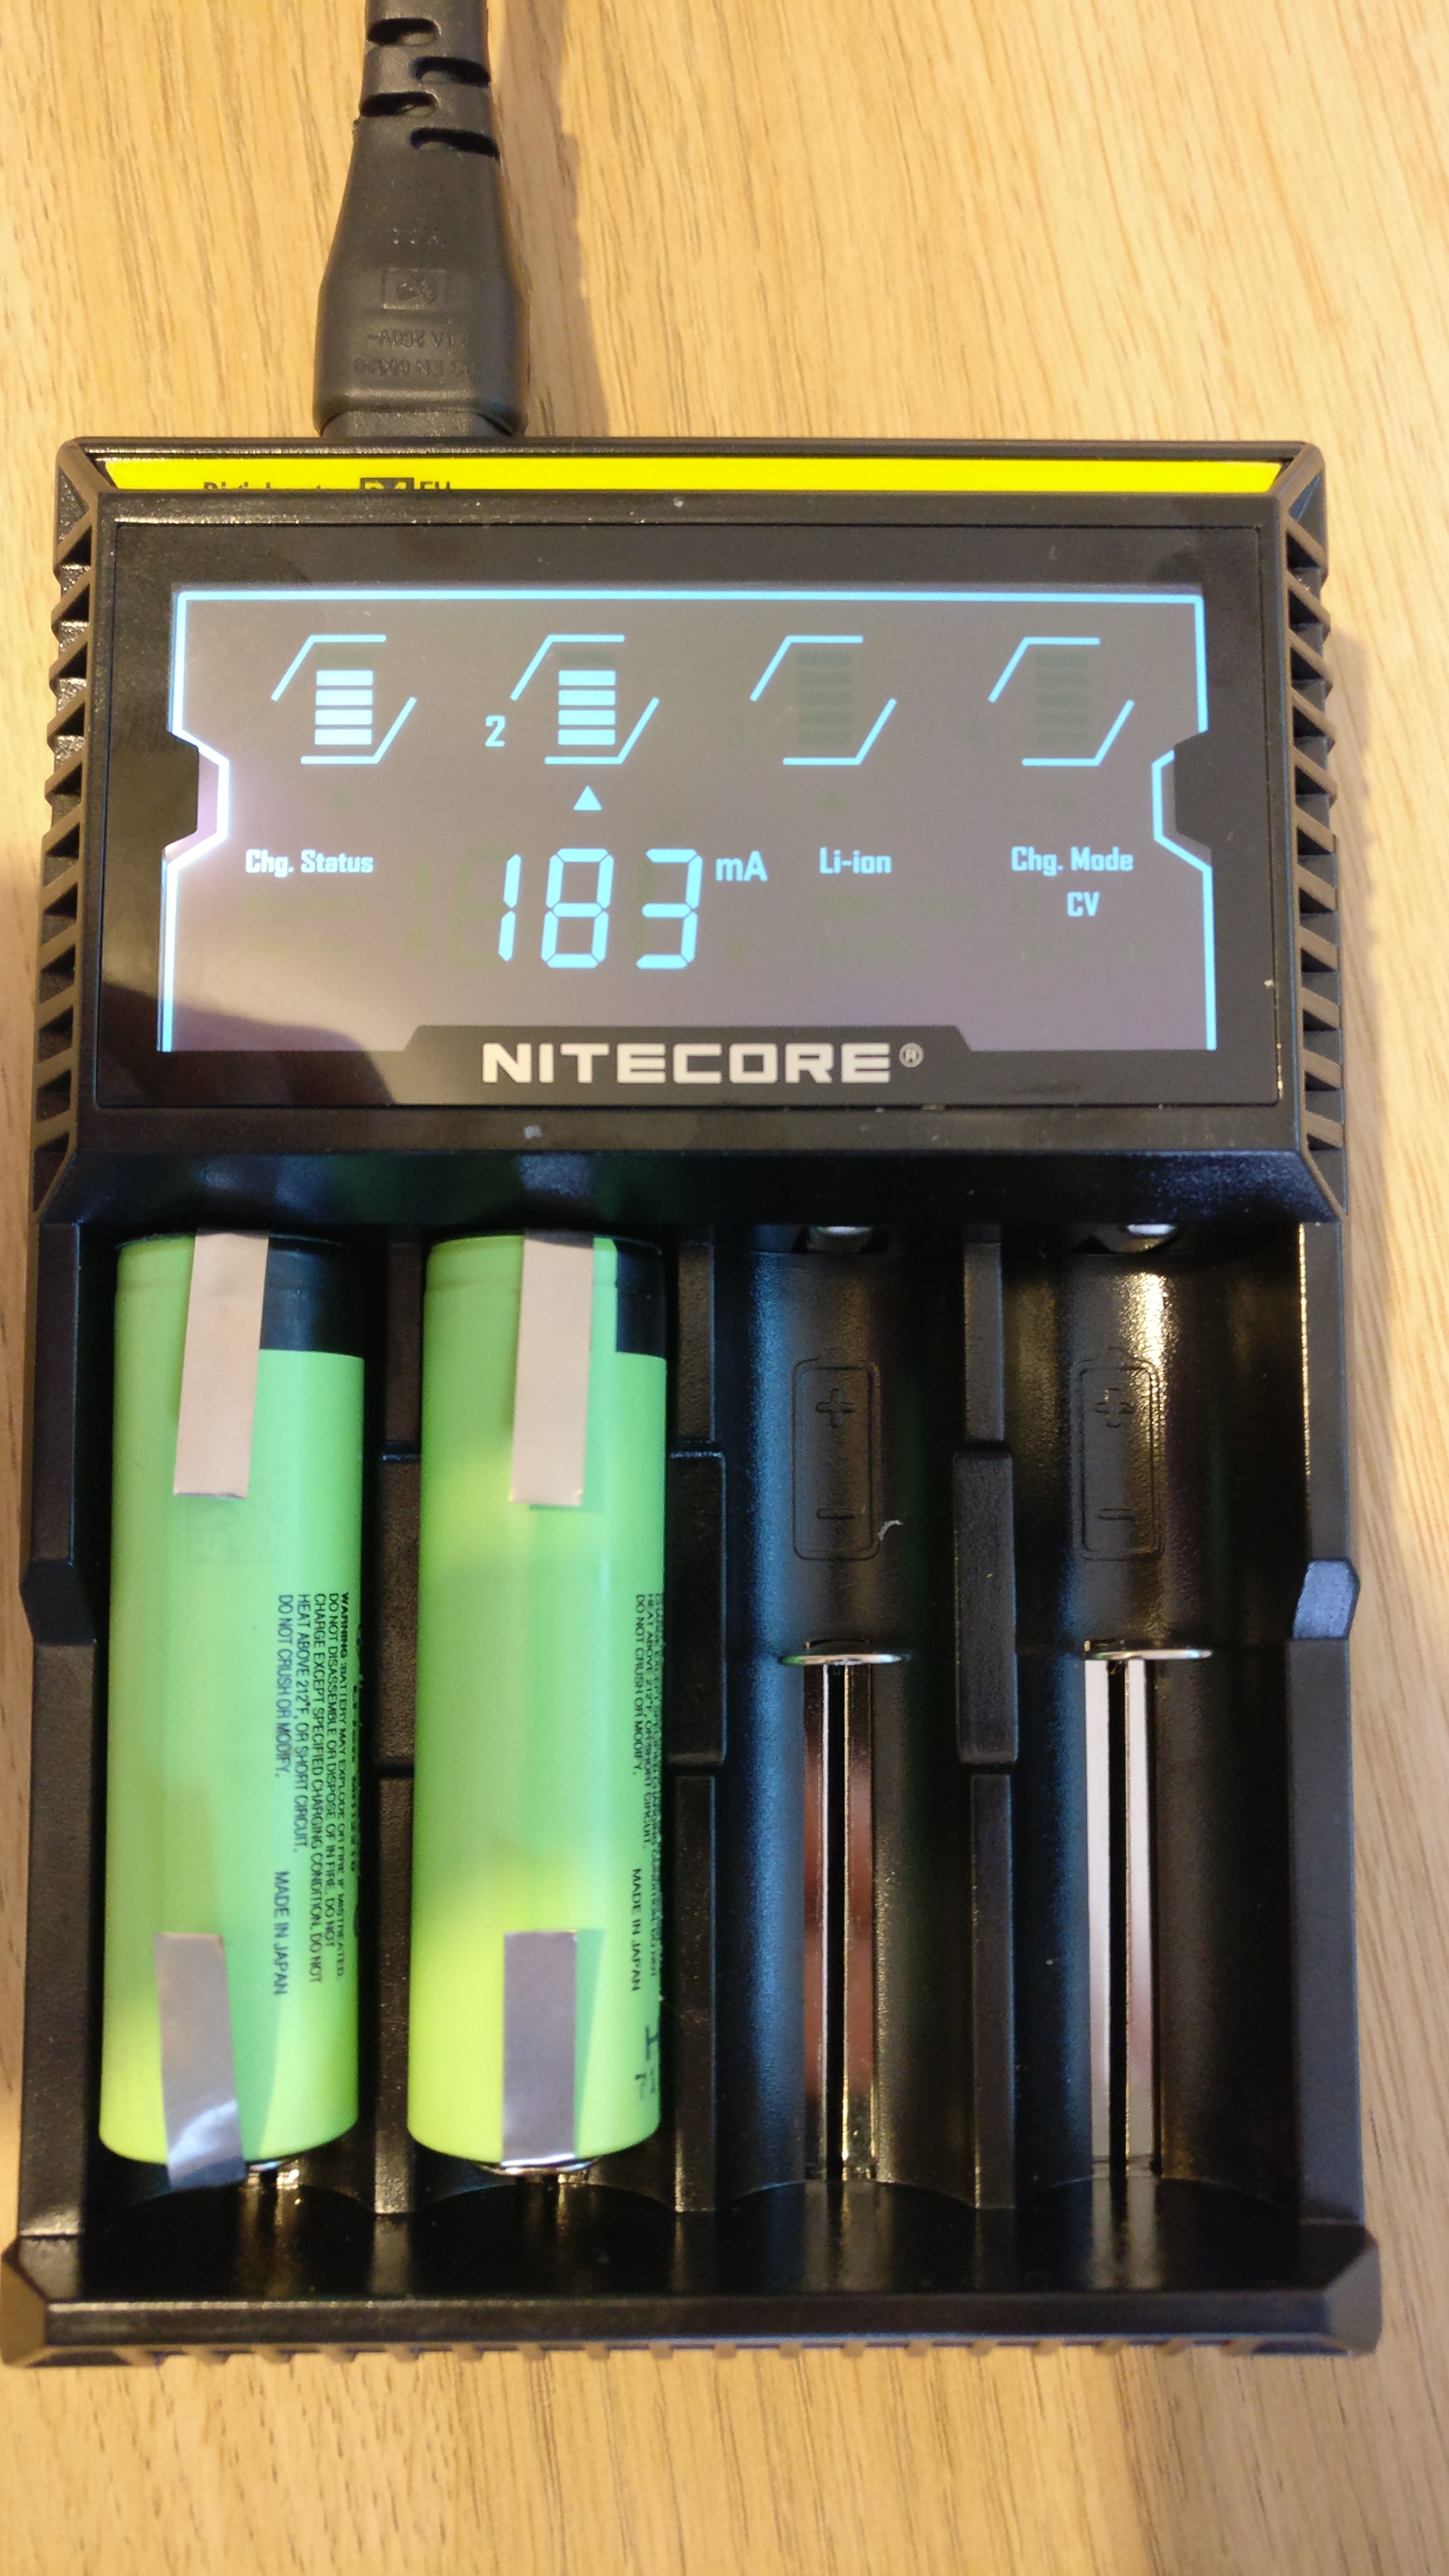
Before building the new battery pack. I charged the cells to ensure they were balanced. This is not absolutely necessary, but if you have a 18650 charger give it a go.
Dismantling
- Remove the small T6 screw on the bottom of the light.
- Remove the Allen Key bolt holding the mount to the light body.
- Using a finger nail, lift up the rubber on off switch button.
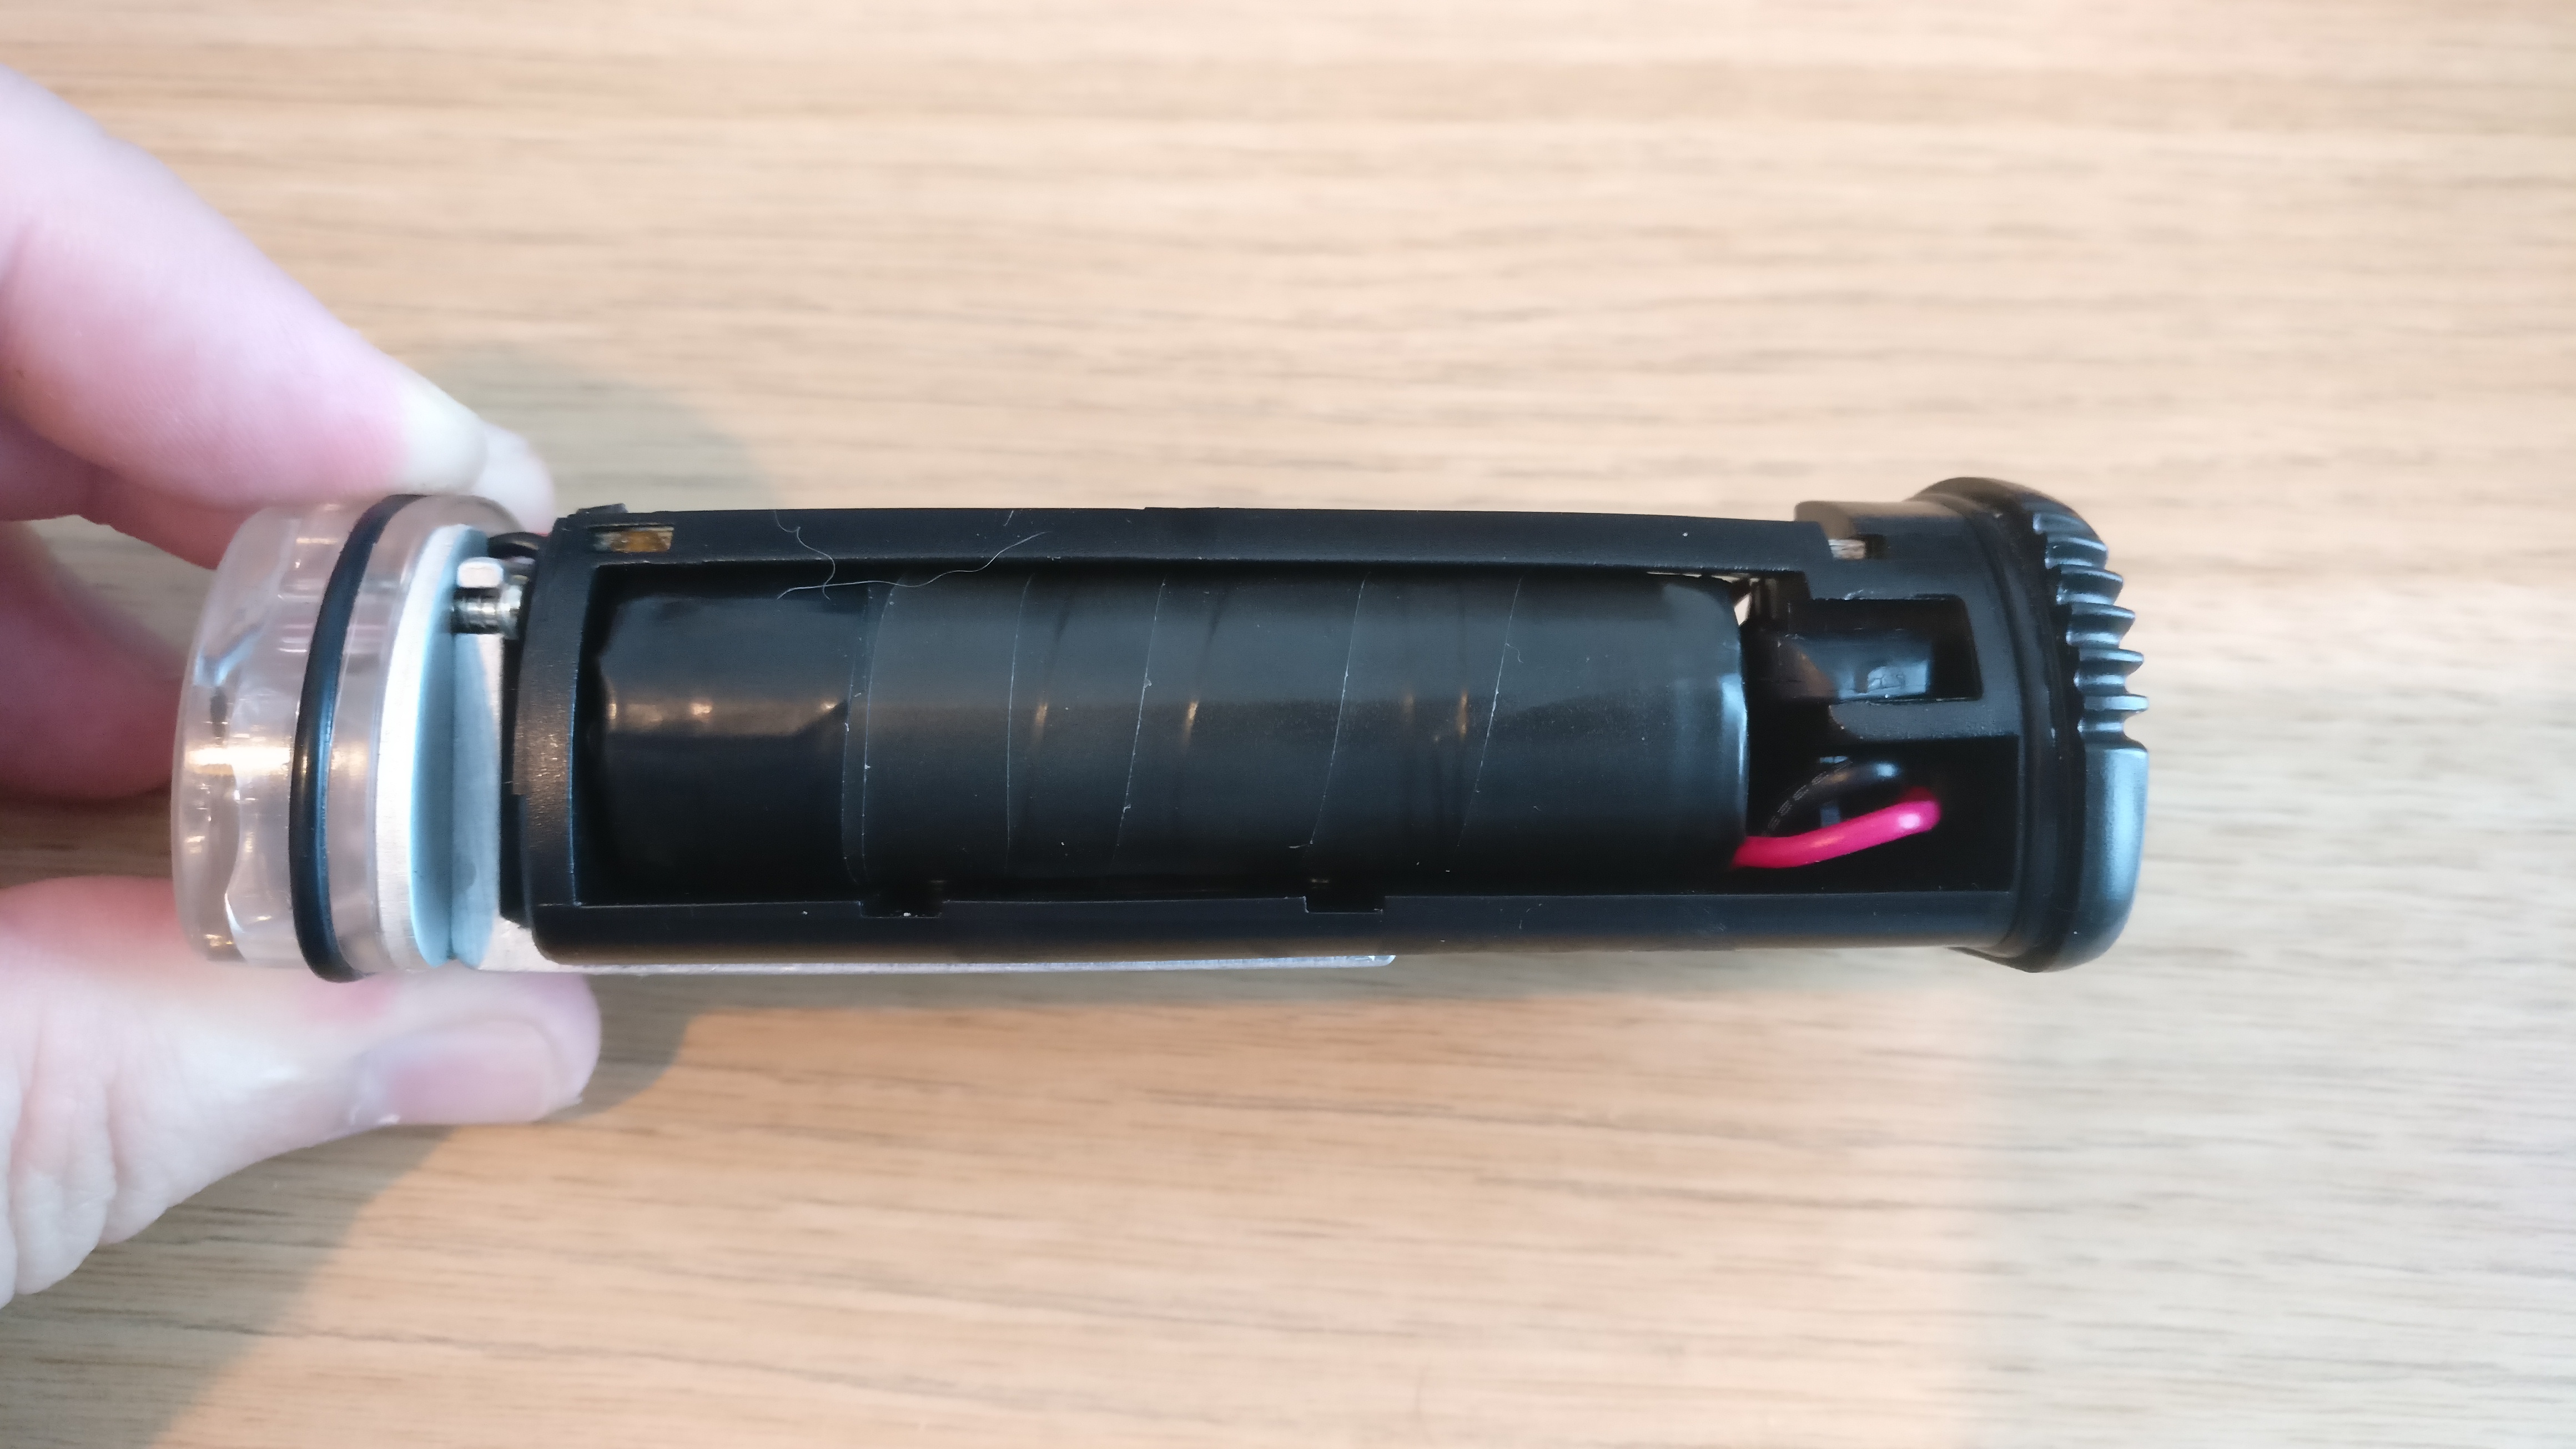
- Push on the light lens, so the inside of the light slides out the rear of the body.
The battery pack is in the bottom of the light. In this case it was wrapped in a blue heatshrink layer protecting the cells.
Building a new battery pack
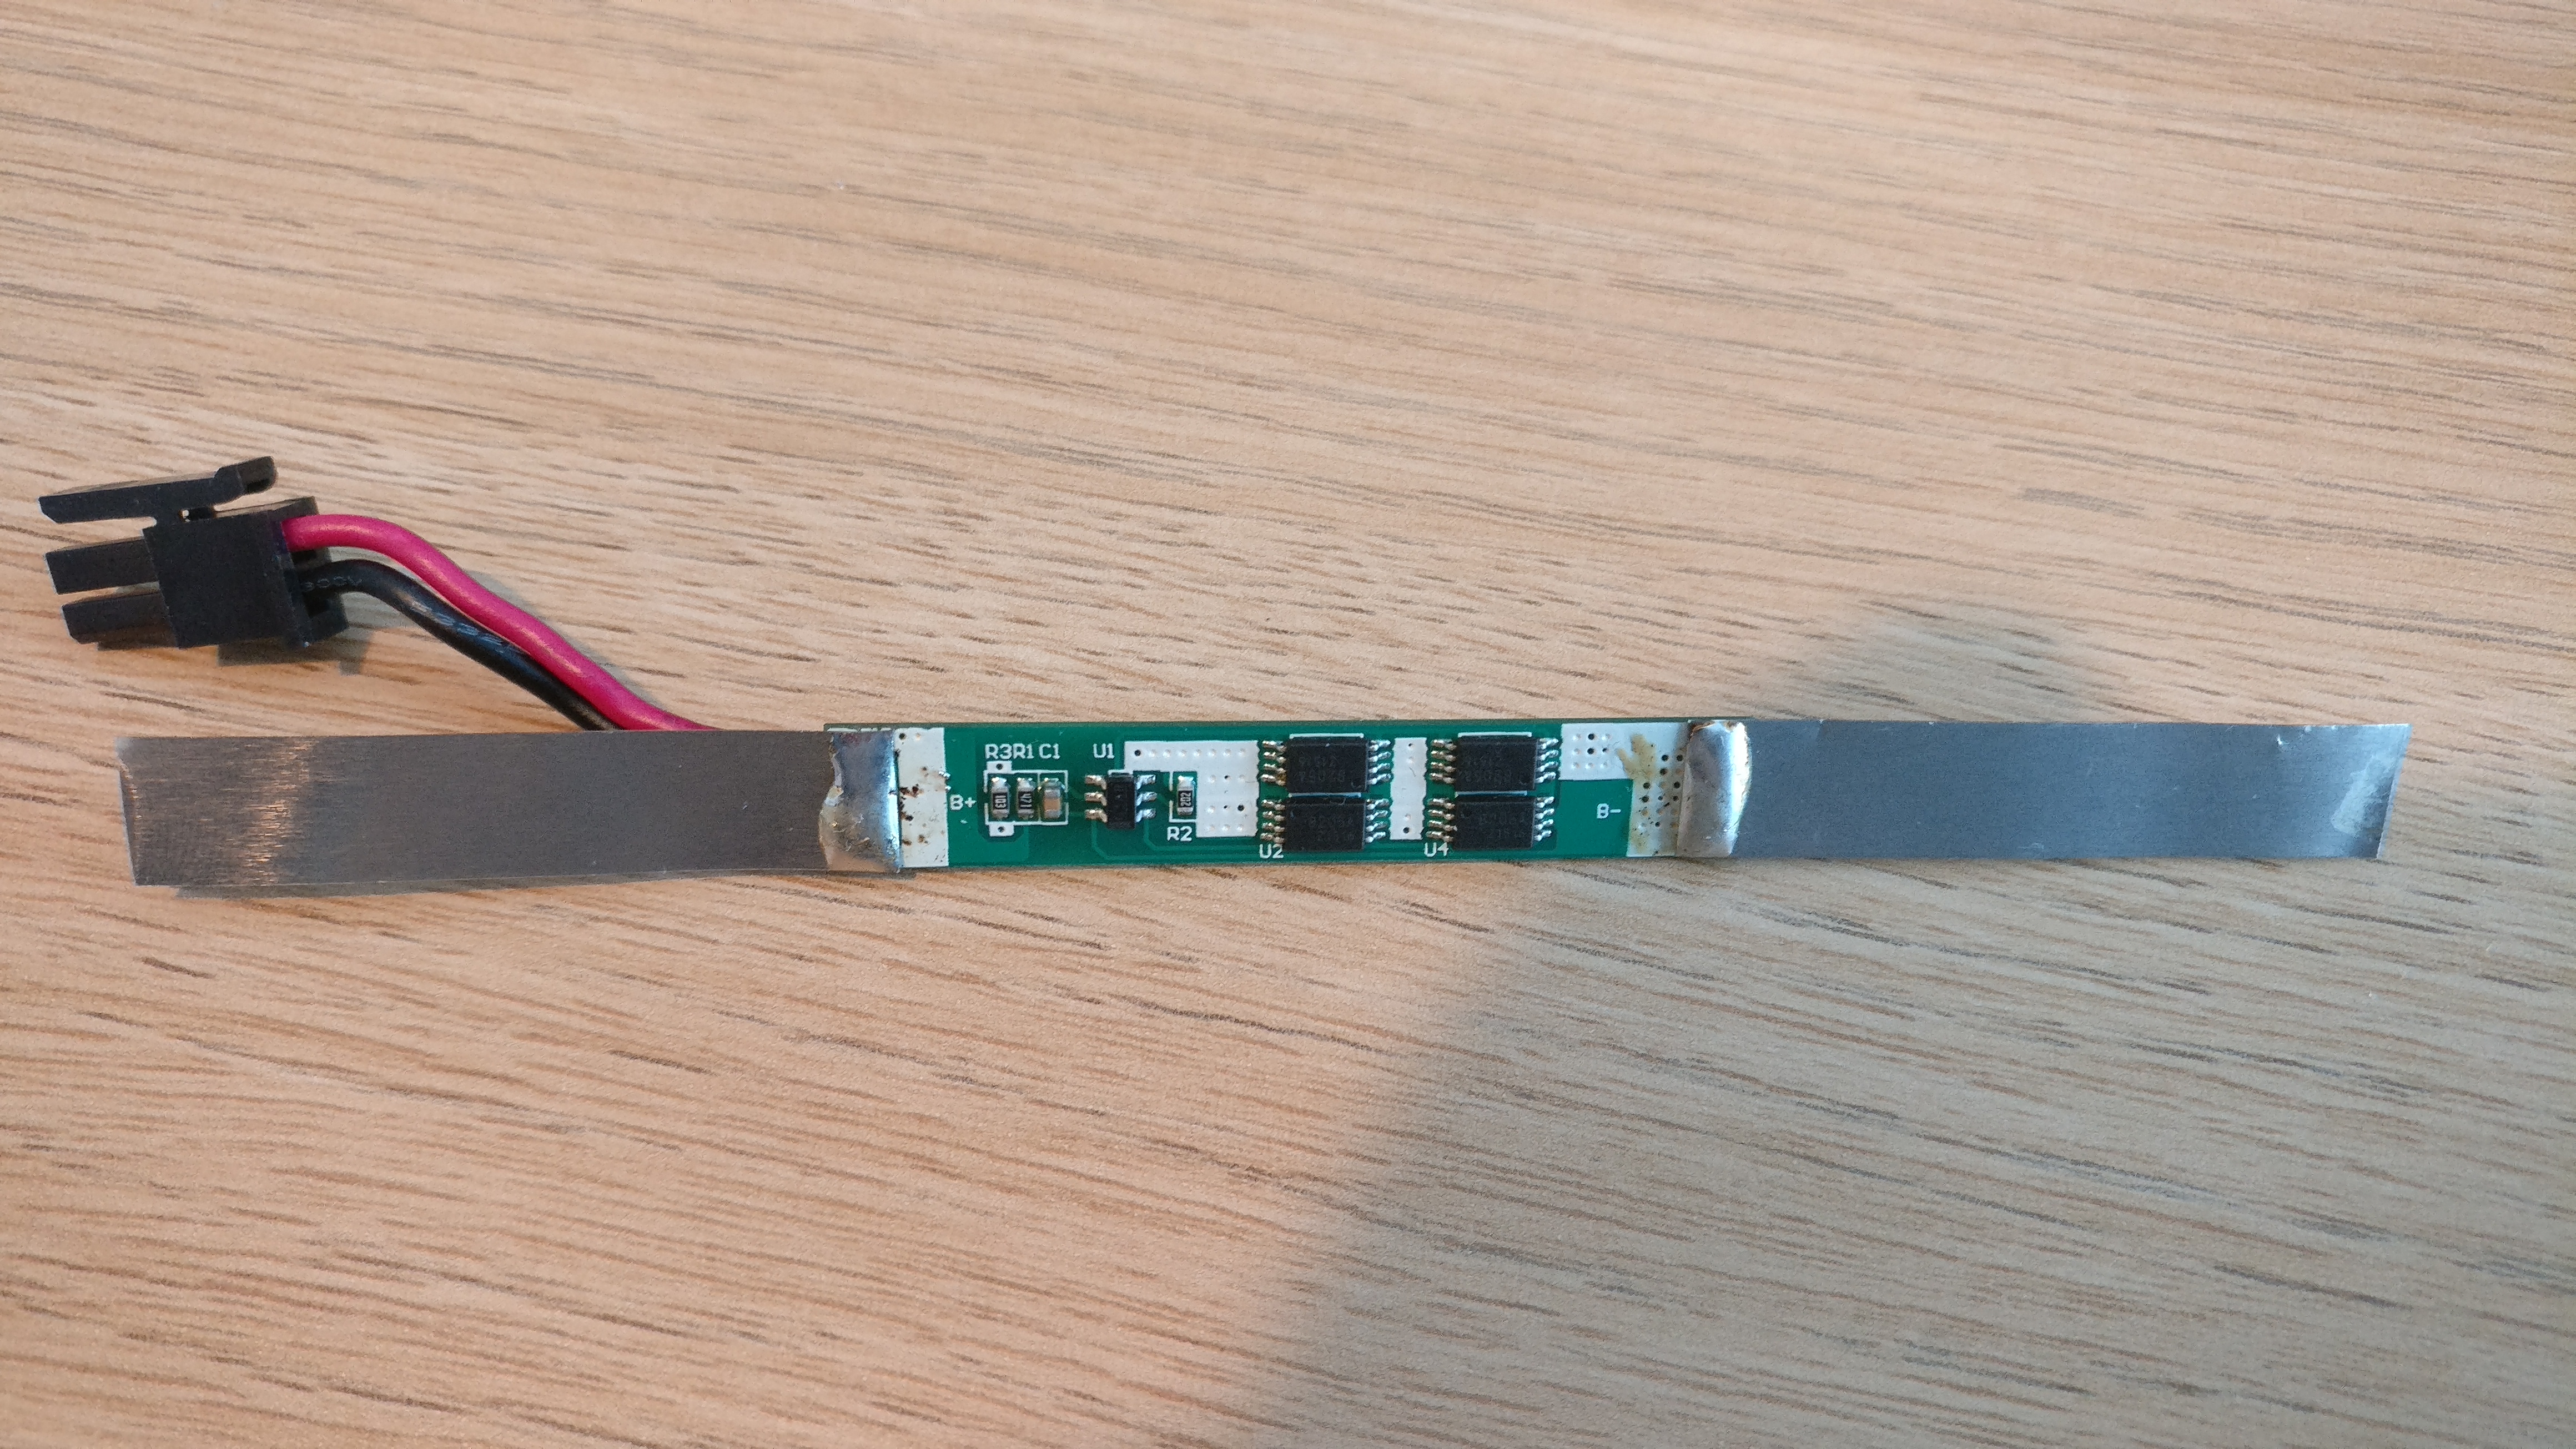
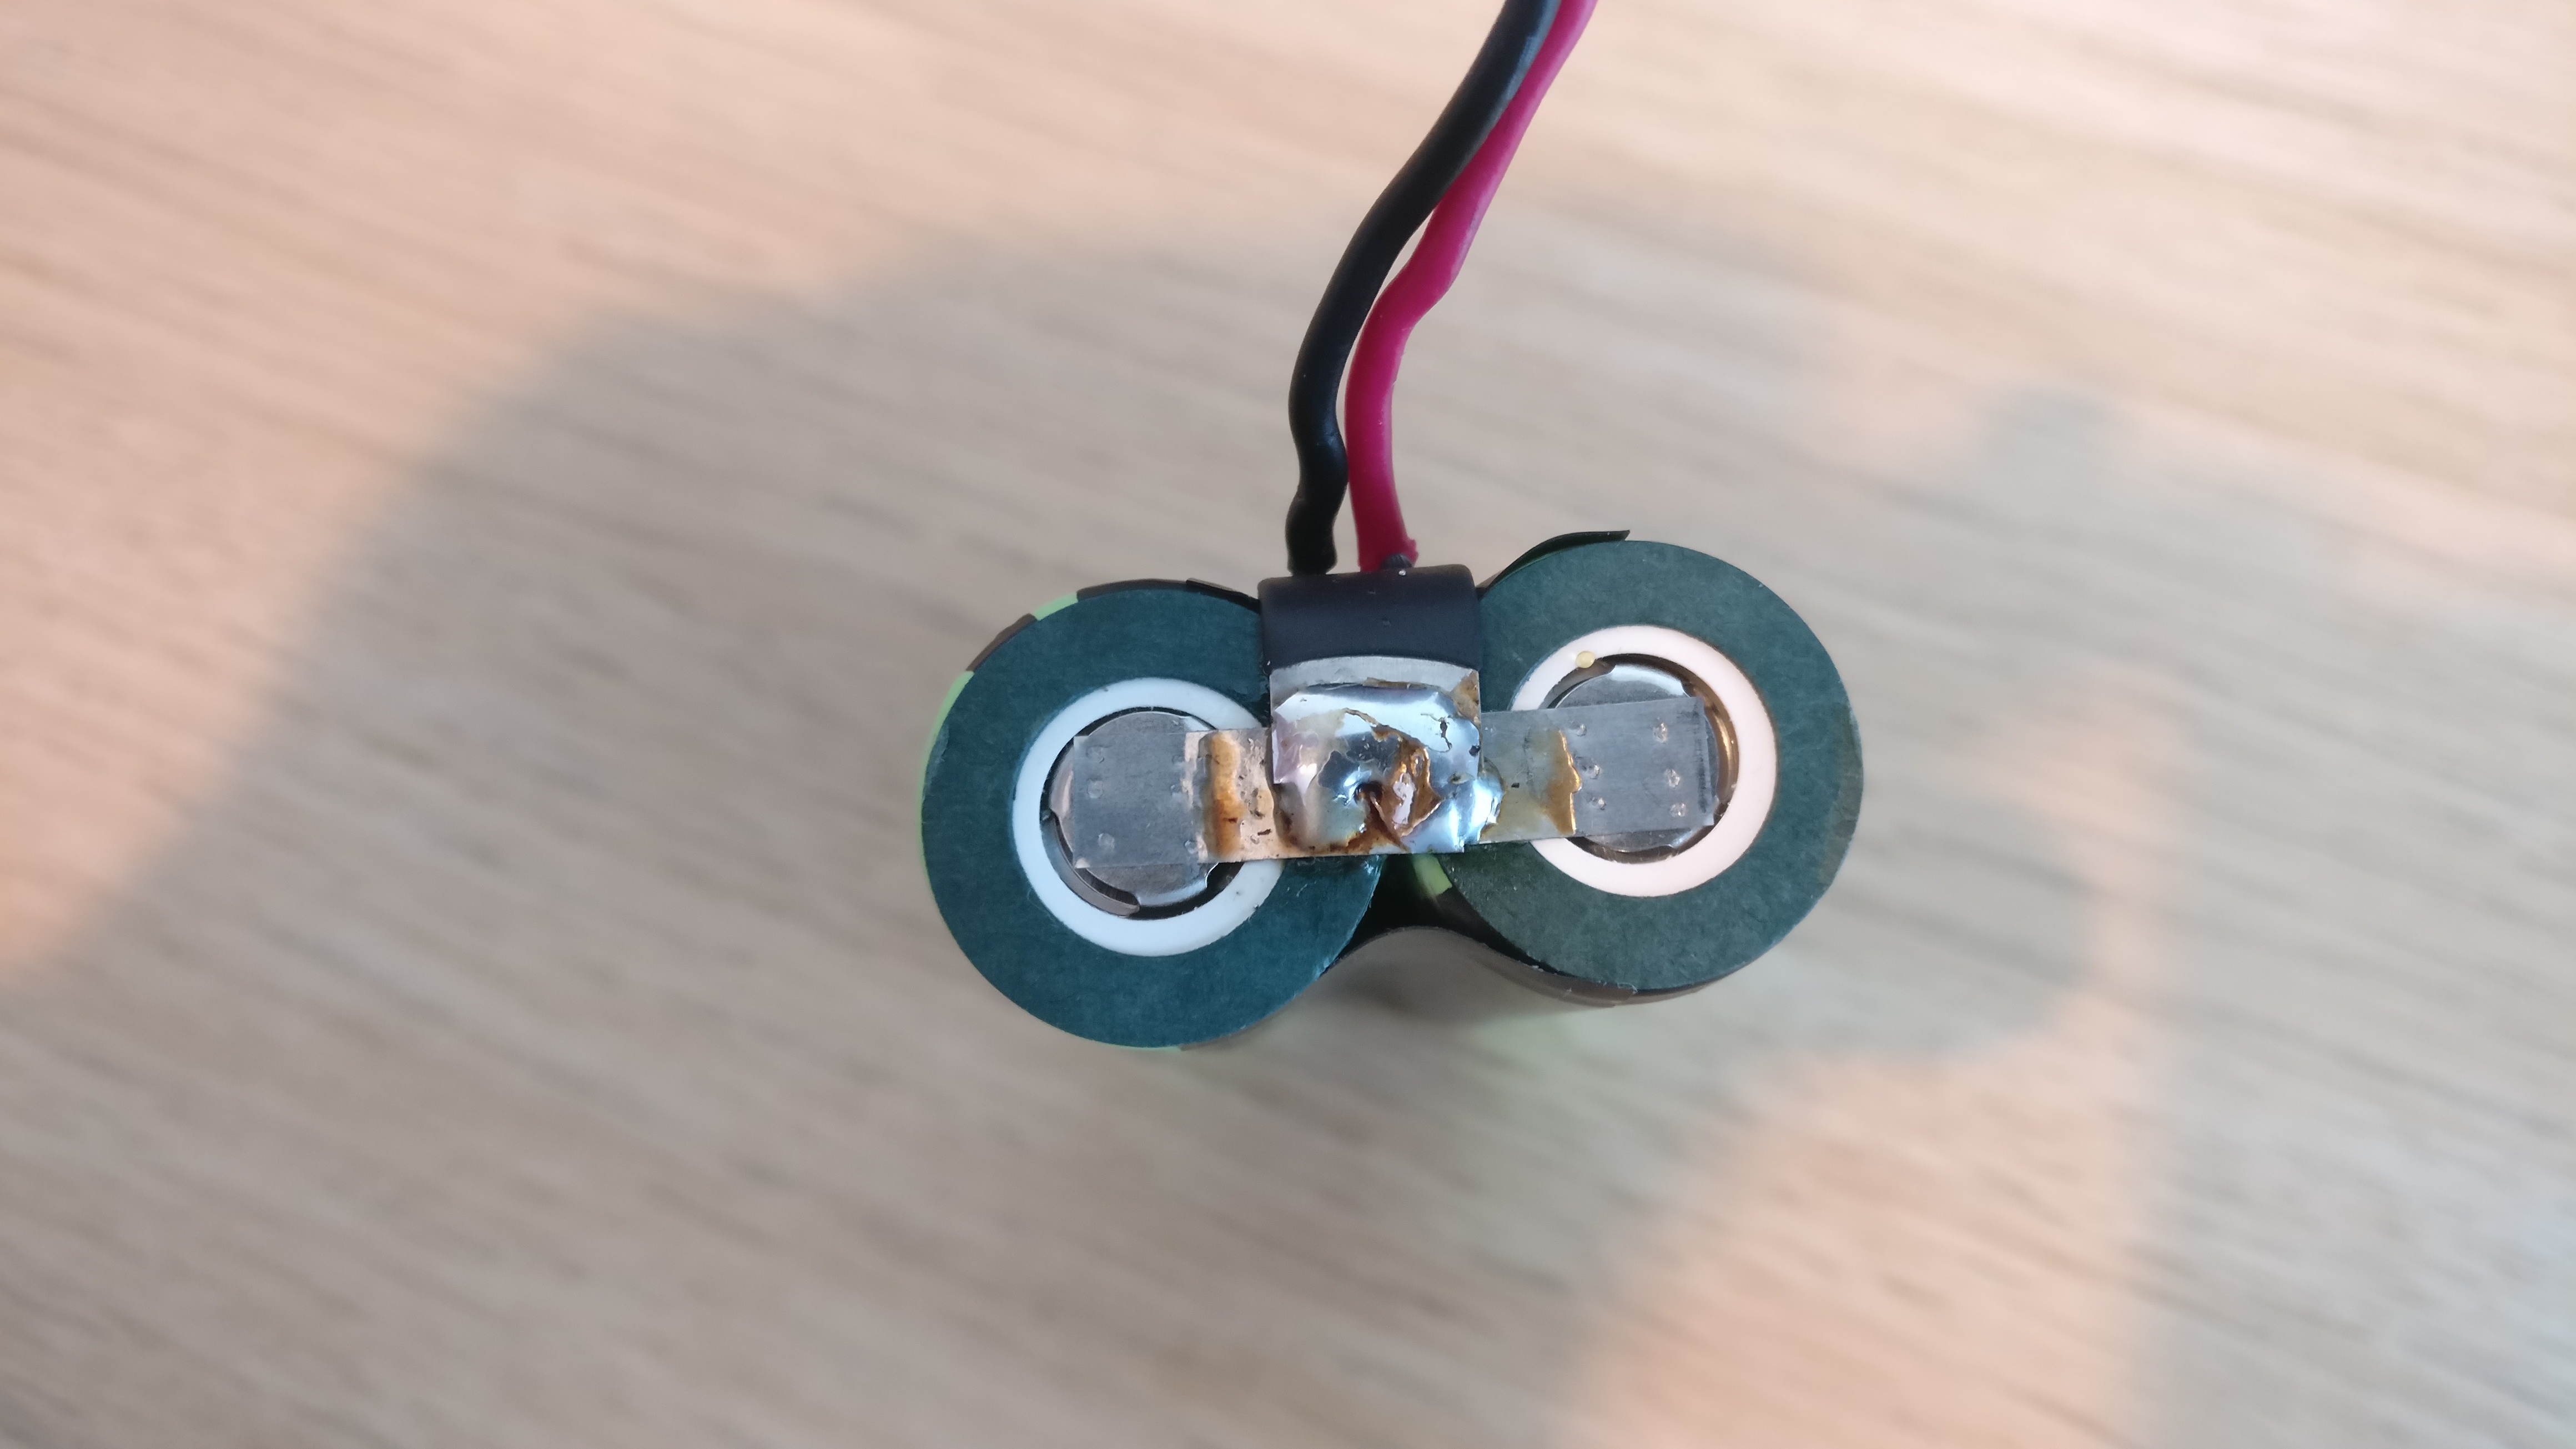
Before building the new pack salvage the protection circuit PCB from the old pack. Do this by using a hobby knife to cut the heat shrink wrap from the existing battery pack. Once inside you will see the PCB attached between the two parallel 18650 cells. Using wire cutters, carefully cut the metal tabs which are attached to the PCB. Cut them as close to the top of the cell as possible. Otherwise you will need to solder new metal tabs to the PCB when building the new pack.
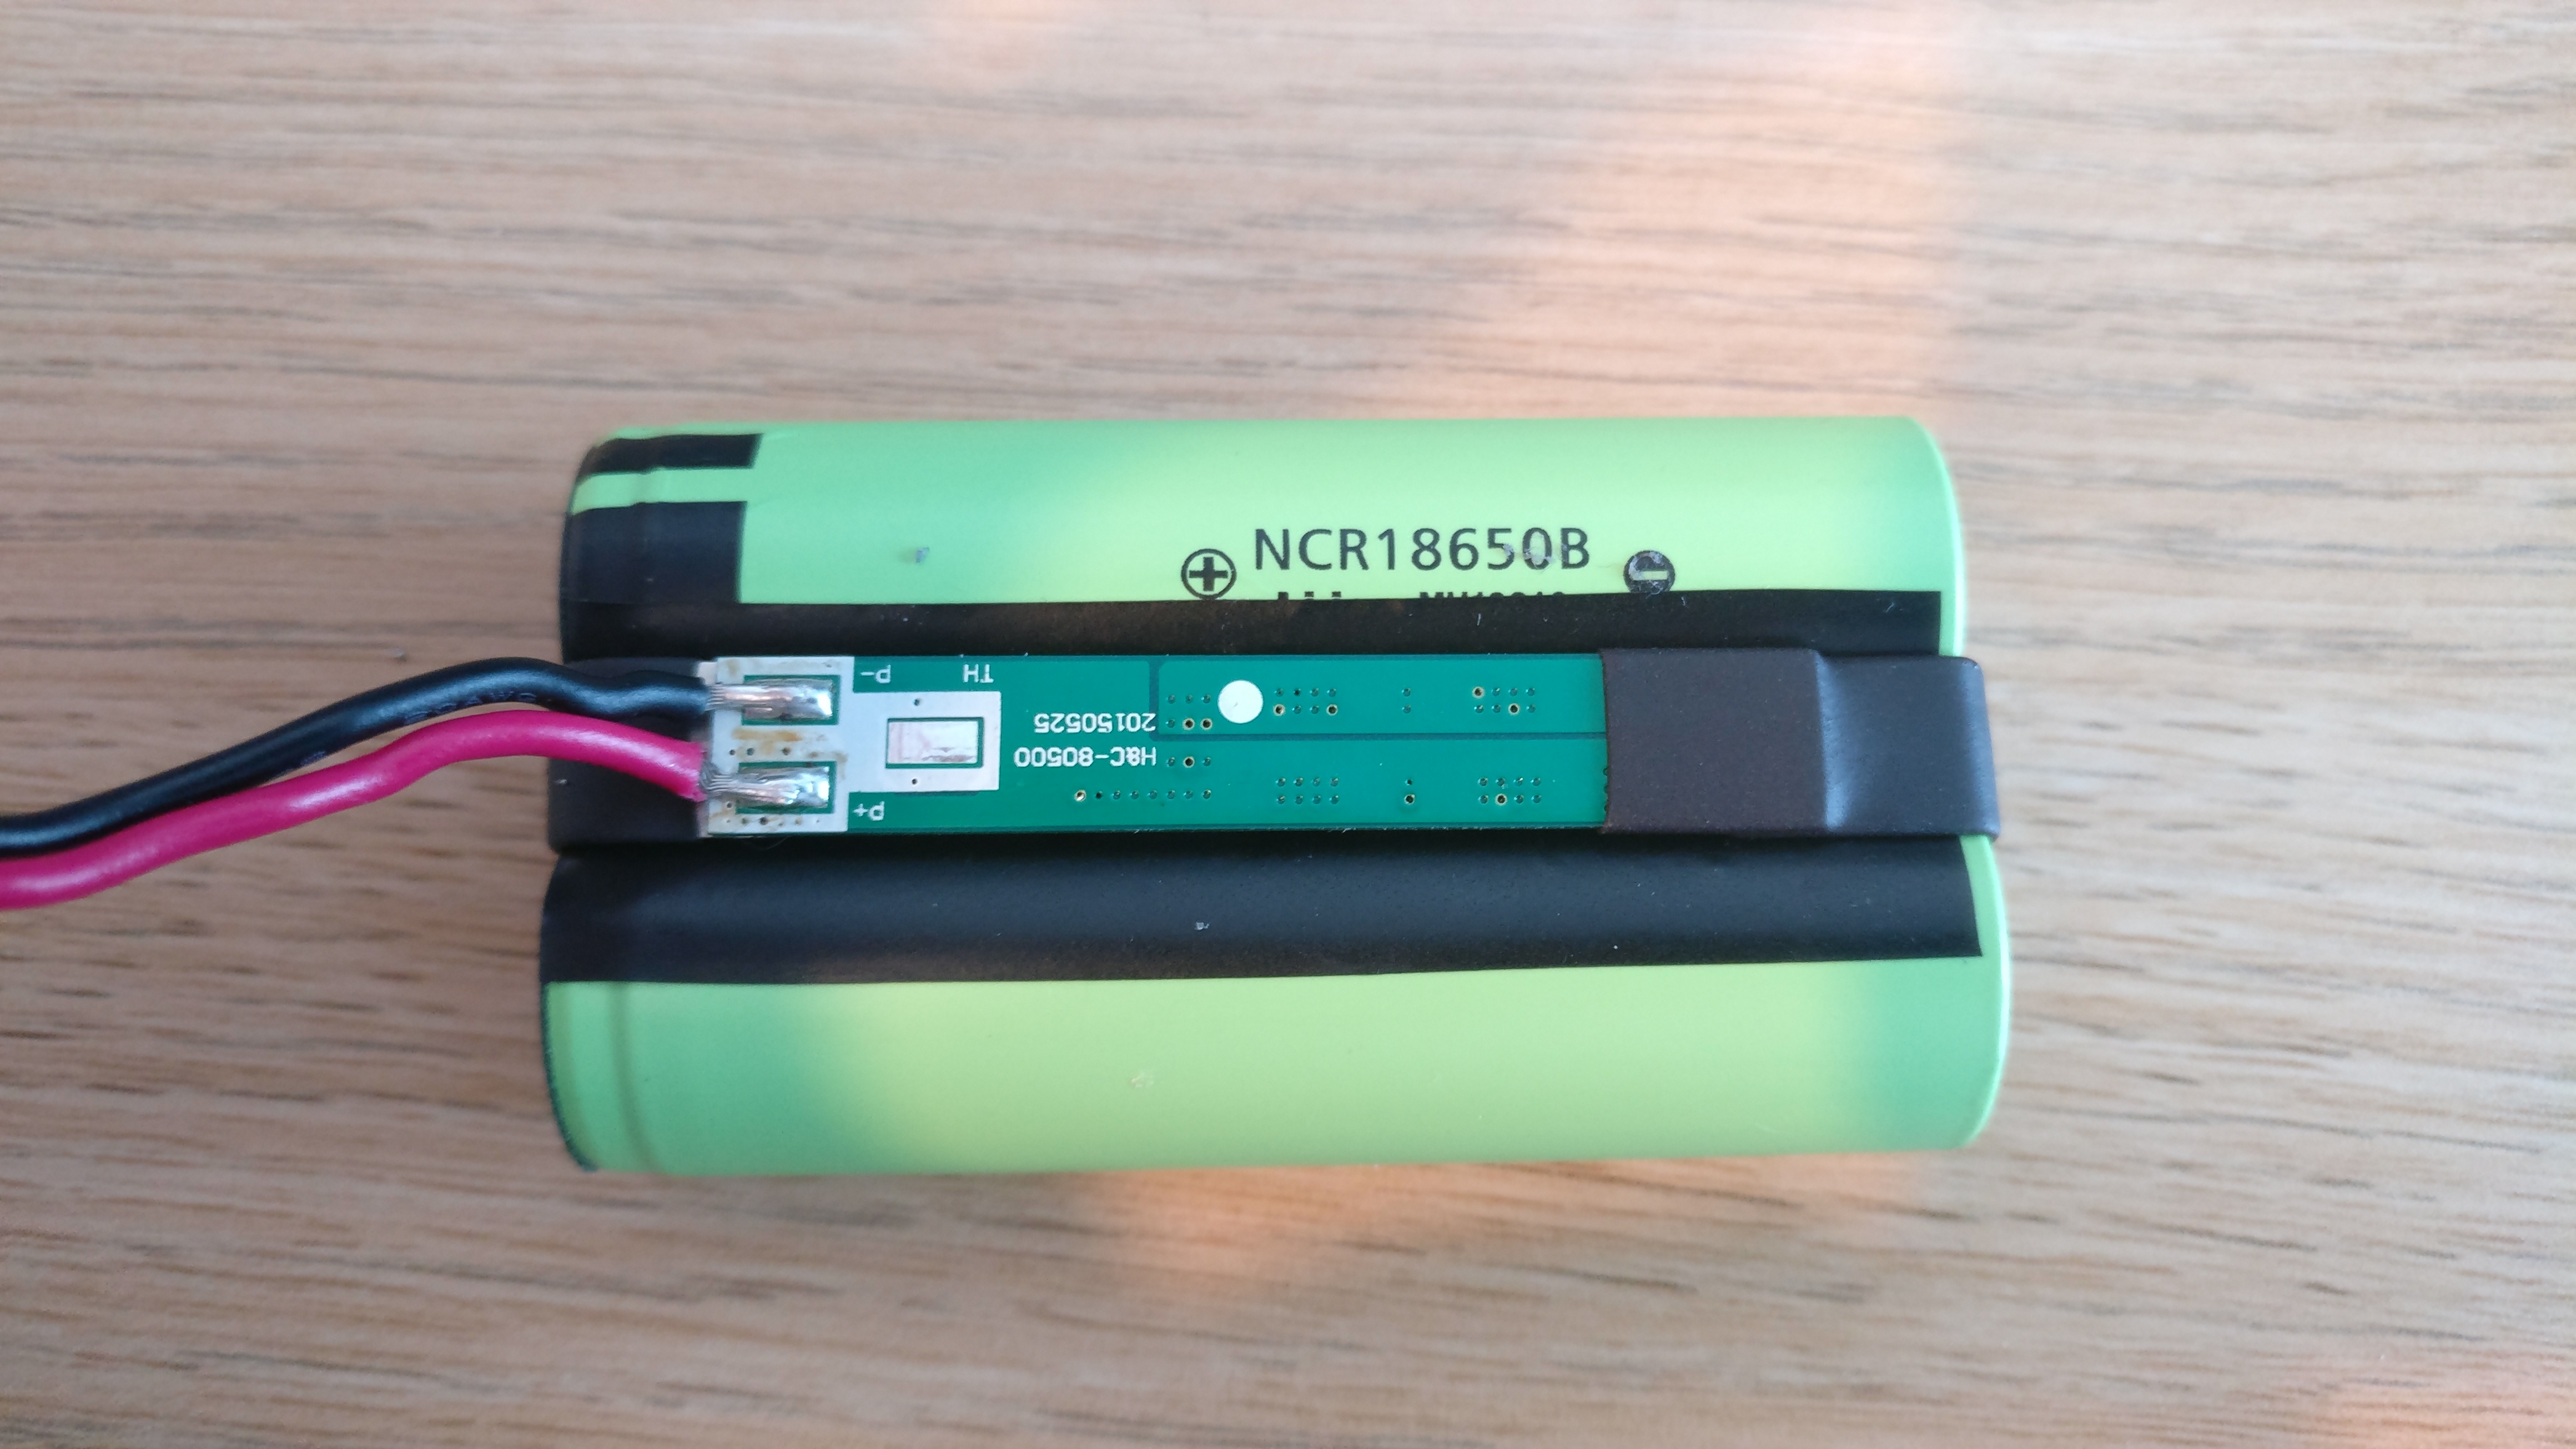
Using a flat surface, glue the two cells together with super glue and solder their tabs together. You MUST ensure the cells are soldered together with the correct polarity. Solder positive to positive and negative to negative. It’s really important you get this right otherwise it is likely the batteries may catch fire or explode. Put some electrical insulation tape length wise between the positive and negative terminals. This helps prevent any short circuit between the PCB and cells.
Now solder the PCB tabs to the positive and negative terminals of the pack while ensuring the correct polarity. You should cover the tabs with heatshrink prior to soldering. Finally wrap the battery in electrical insulation tape. Start with one layer across the top and bottom terminals. Be careful to not make the wrap too thick otherwise you will struggle to fit the new pack in the light upon reassembly.

Testing the new battery pack.
Before putting the light back together, test the battery pack to make sure it works. If you accidentally shorted the batteries when building the pack, the protection circuit should have kicked in. You will need to charge the pack before you can draw power from it. This is a safety feature.
Reassemble
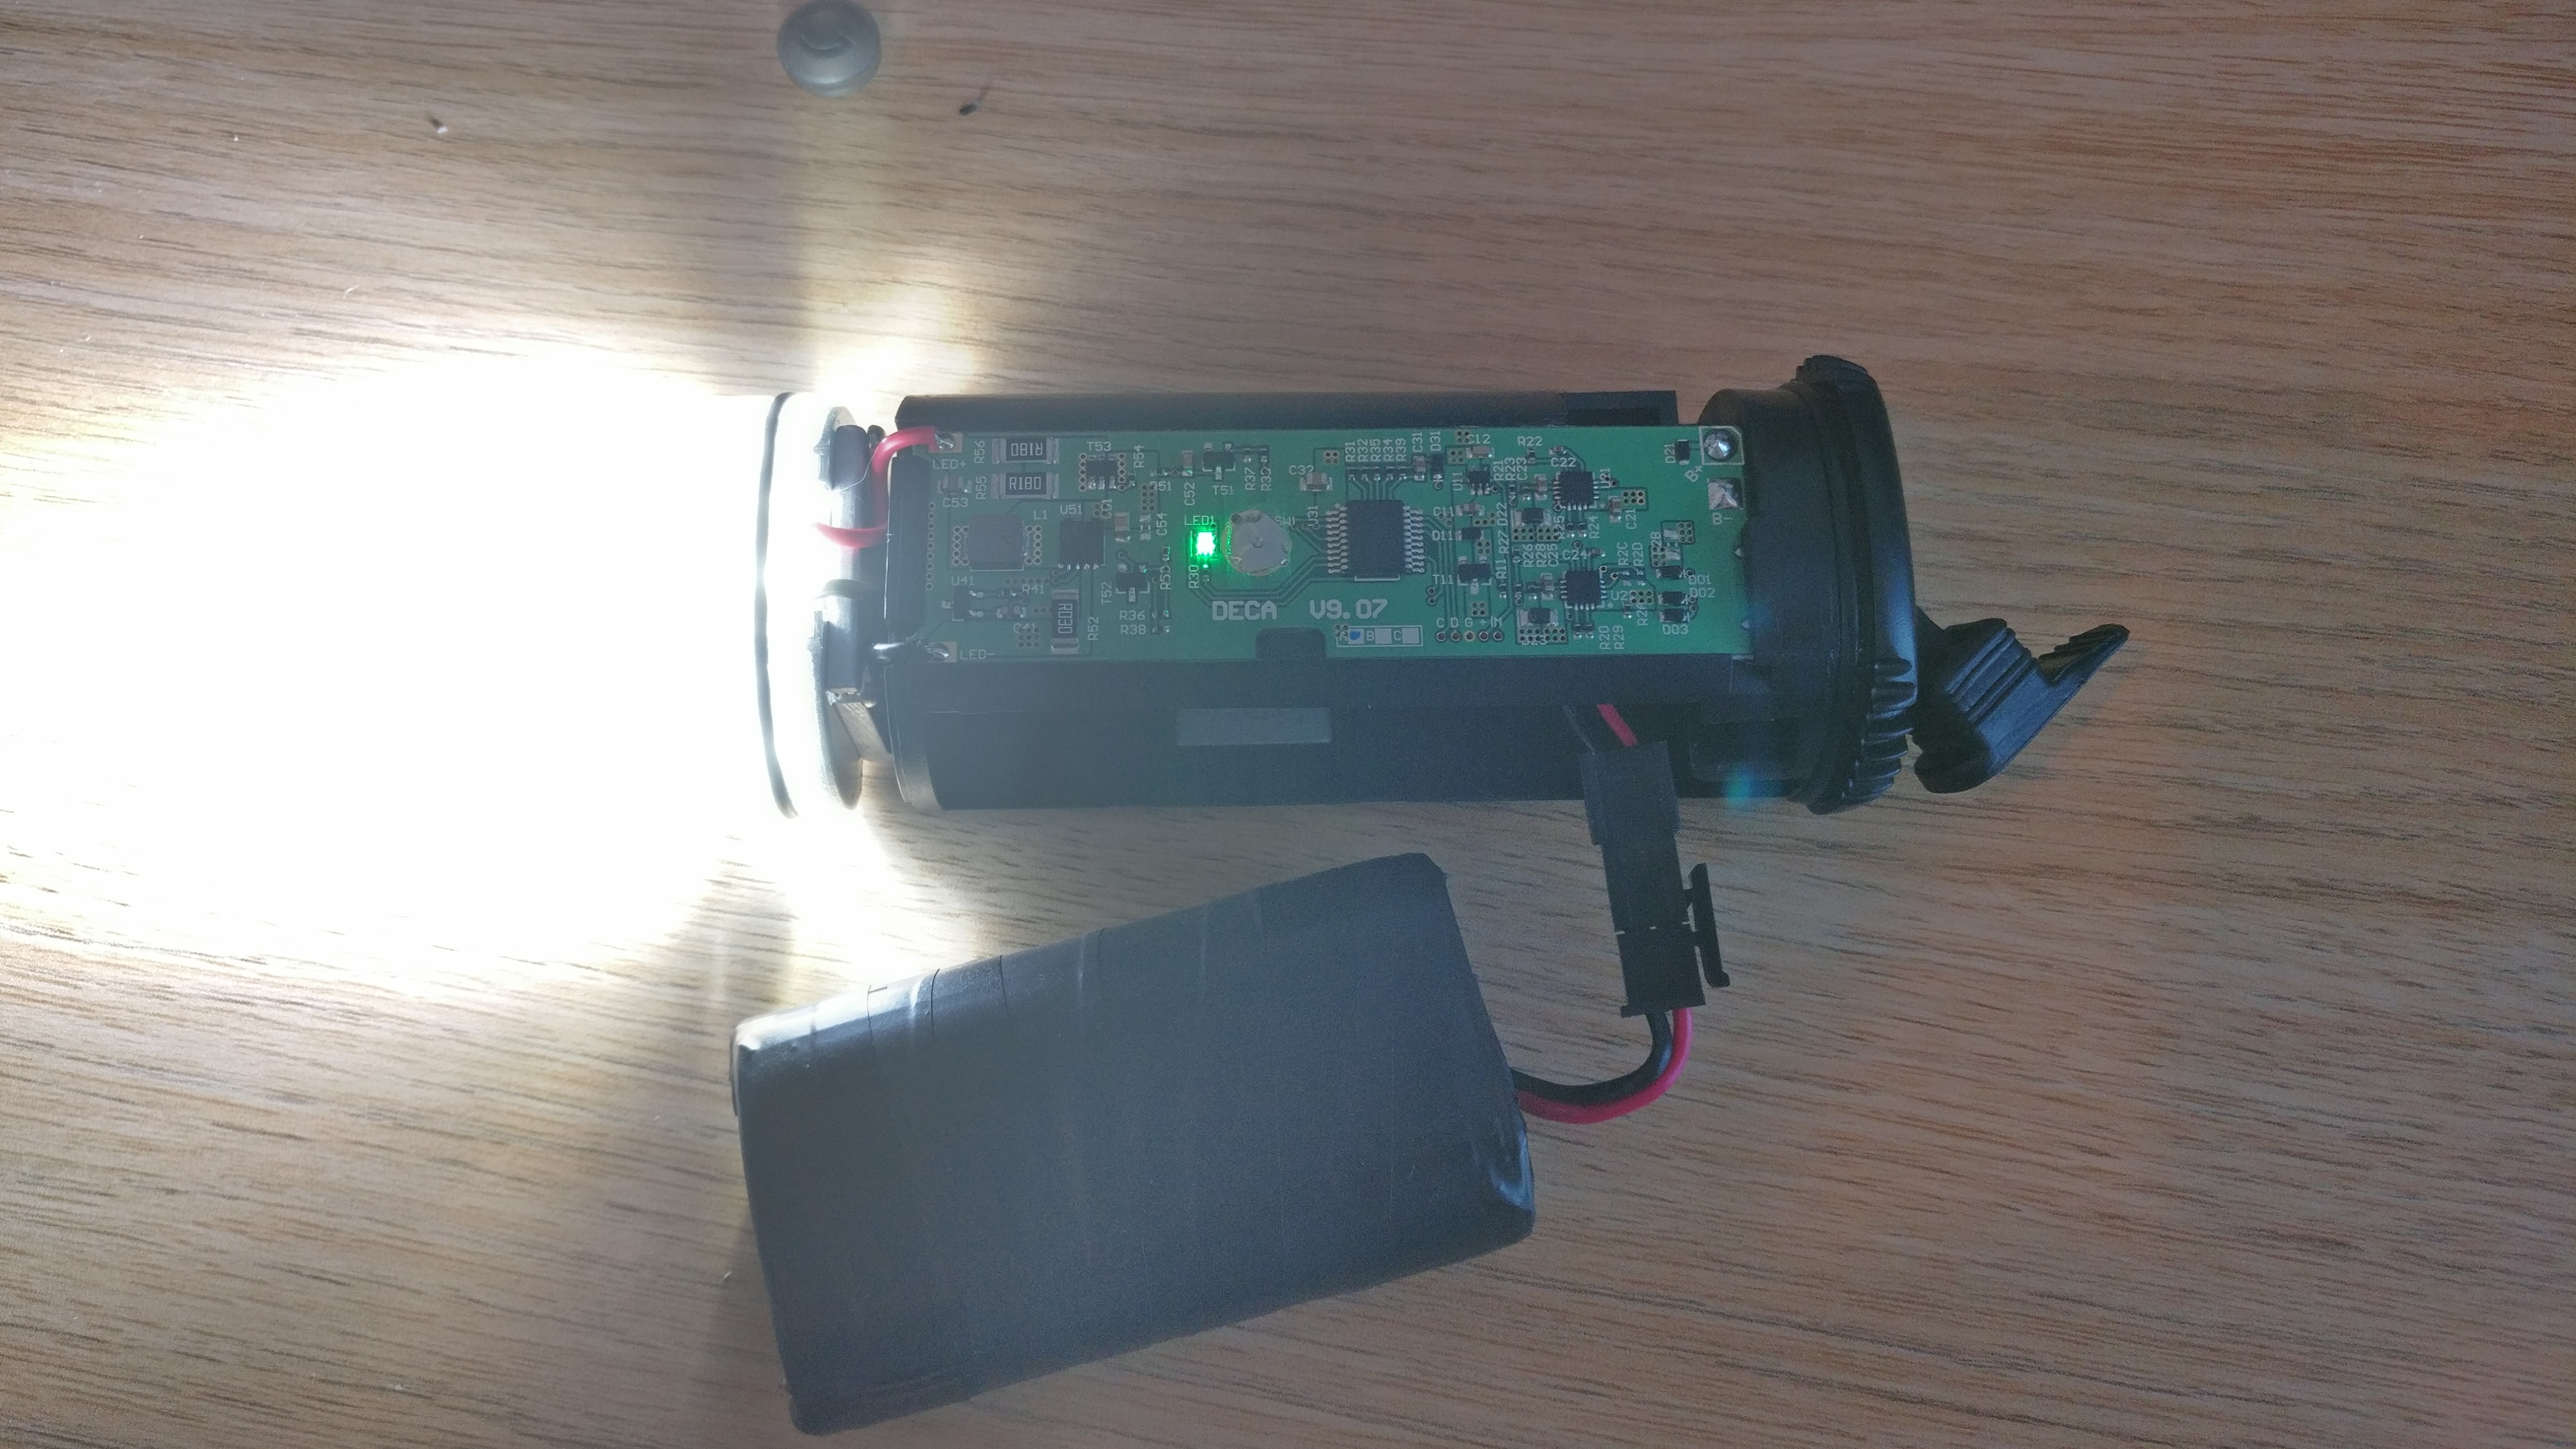
Slide the new battery pack into the light. Tuck the connector into the recess at the back. Make sure not to trap any of the wires. You may note the plastic casing looks ever so slightly bowed. I think these cells might be slightly wider than the originals, it does not cause an issue though.
Reassembly is the reverse of disassembly, make sure none of the o’rings or seals are snagged, otherwise water may get into the housing.
Test the light again and feel awesome in the knowledge the battery will last longer.